Getting Started
Welcome ! Here you’ll learn how to start your journey by publishing your content to build a simple site.
Quickstart video#
In this video, we’re going to walk you through creating a simple project, editing content and code, and publishing it live on the web with doc2.site.
Provisioning#
Once subscribed, you’ll get provisioned with a secret which is required to publish content with doc2.site. You can generate a new secret at any time on the Dashboard.
If you’re unfamiliar with Google Drive, we recommend reading the How to use Google Drive documentation.
Project folder#
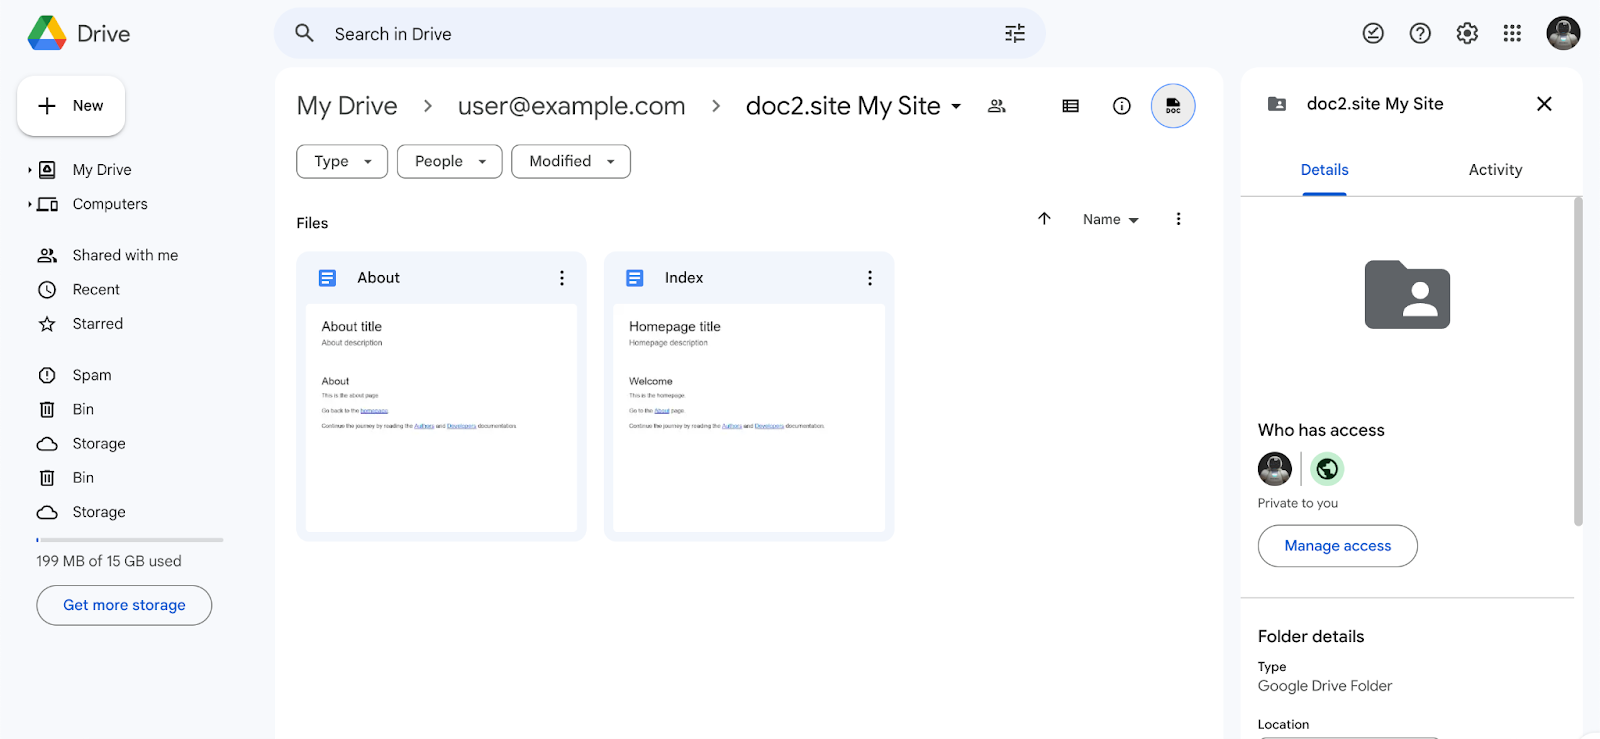
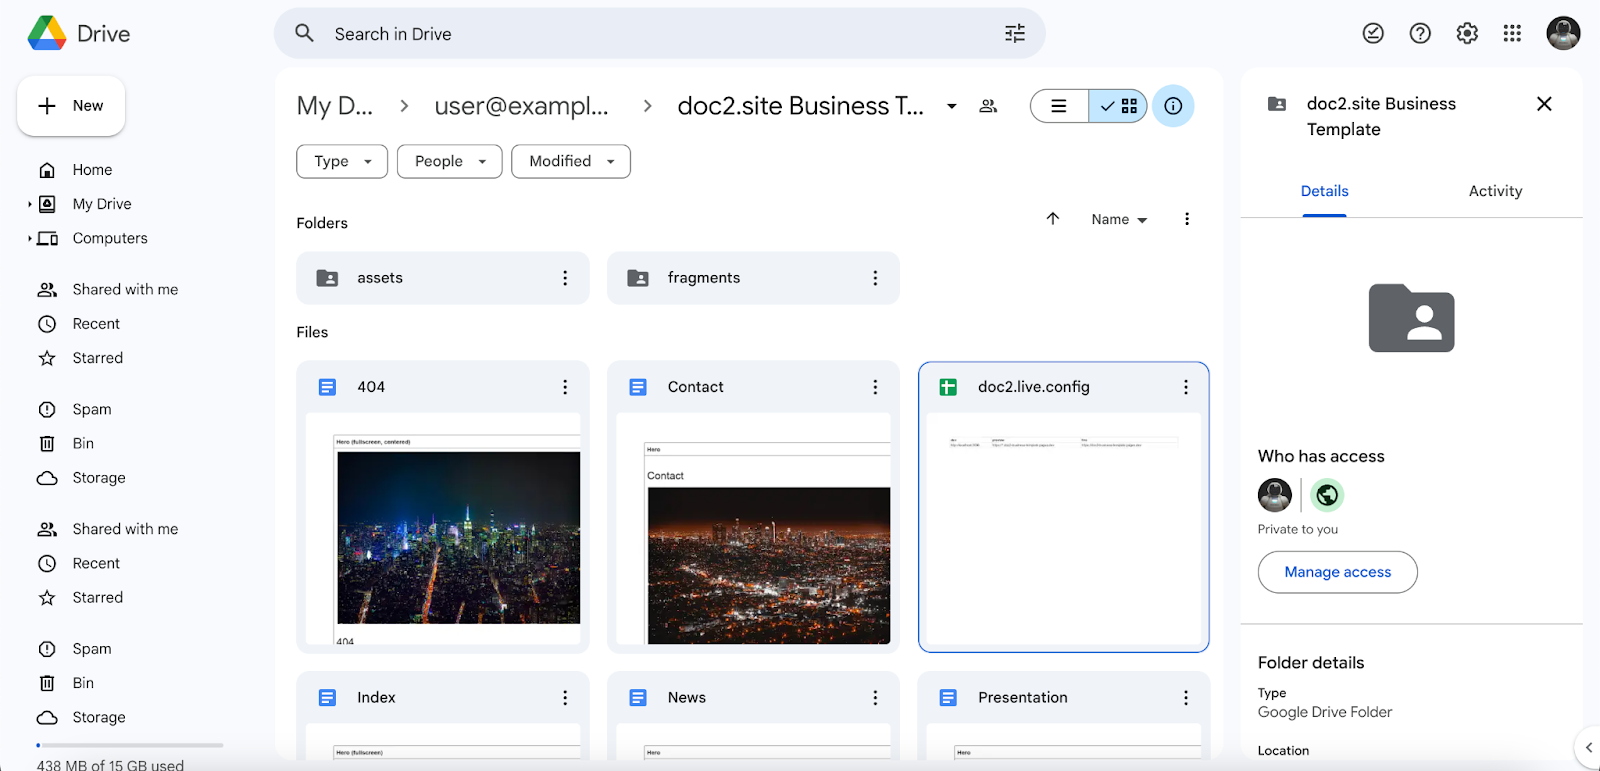
First start by creating a new Google Drive folder with a “doc2” prefix in the folder name then share the folder with bot@doc2.site. The doc2.site Bot is a service user configured to read and publish your content. The folder will be considered as a doc2.site project as long as the folder name is prefixed with “doc2” and the doc2.site bot has editing permissions on the folder.
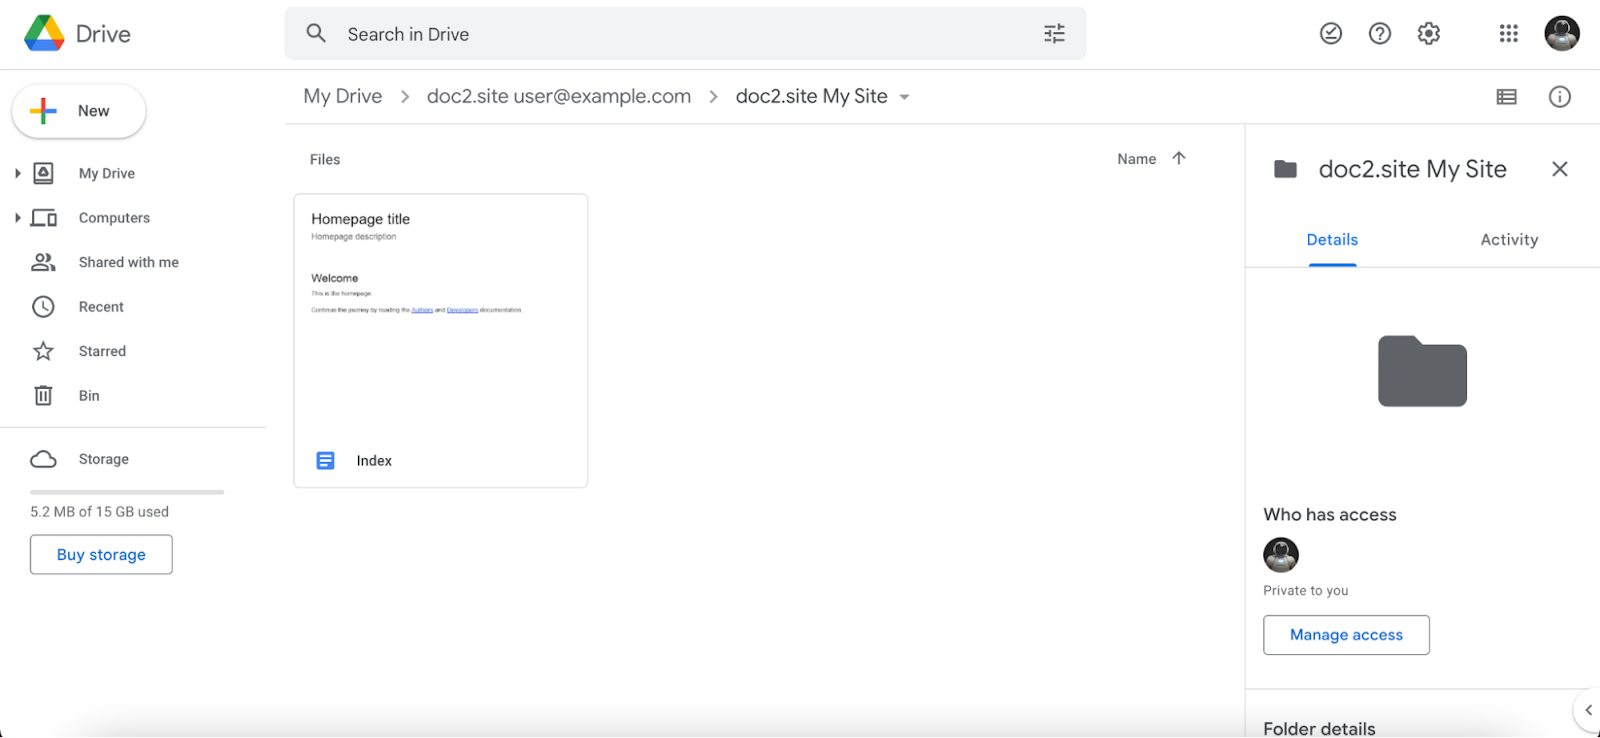
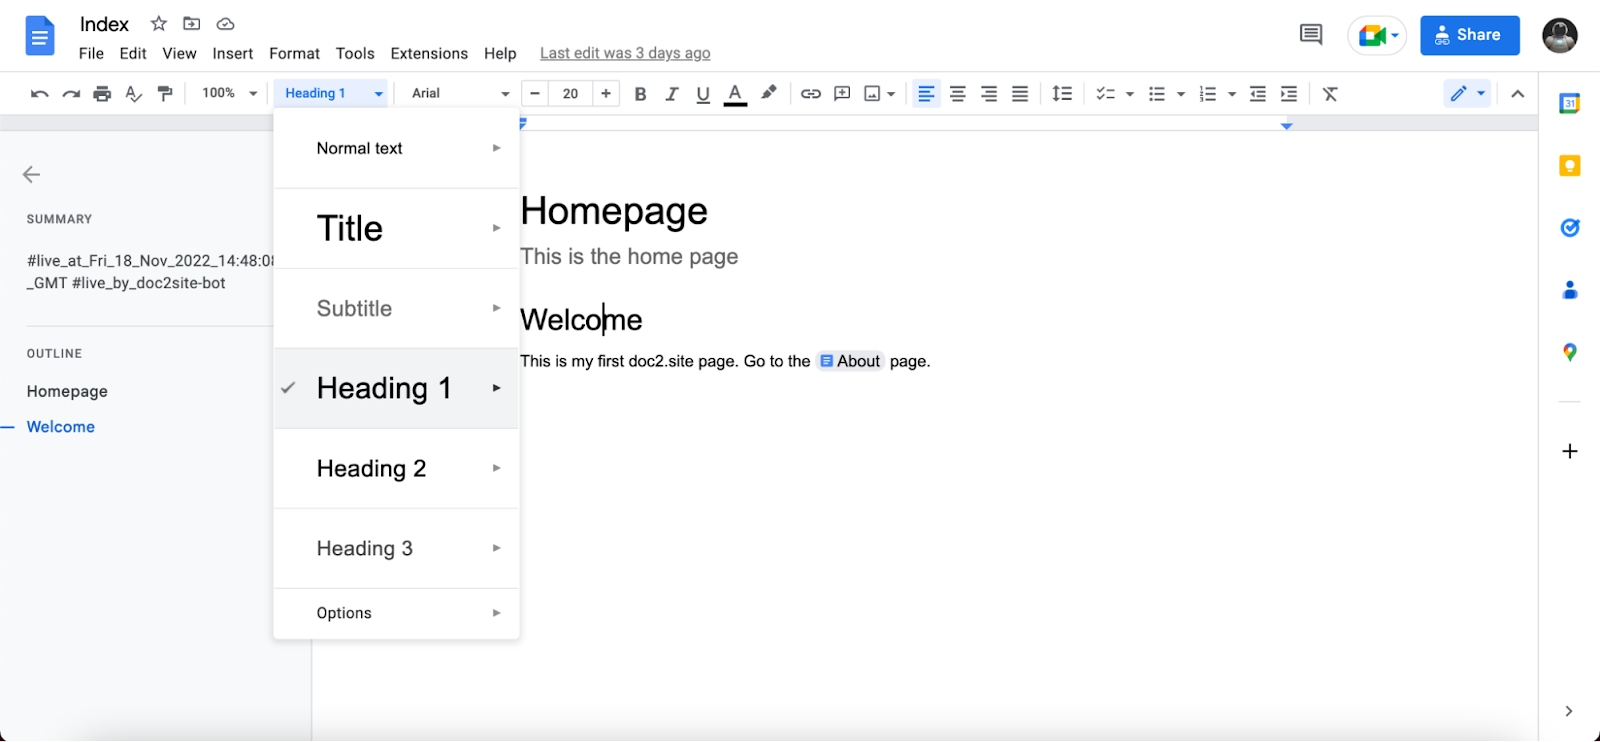
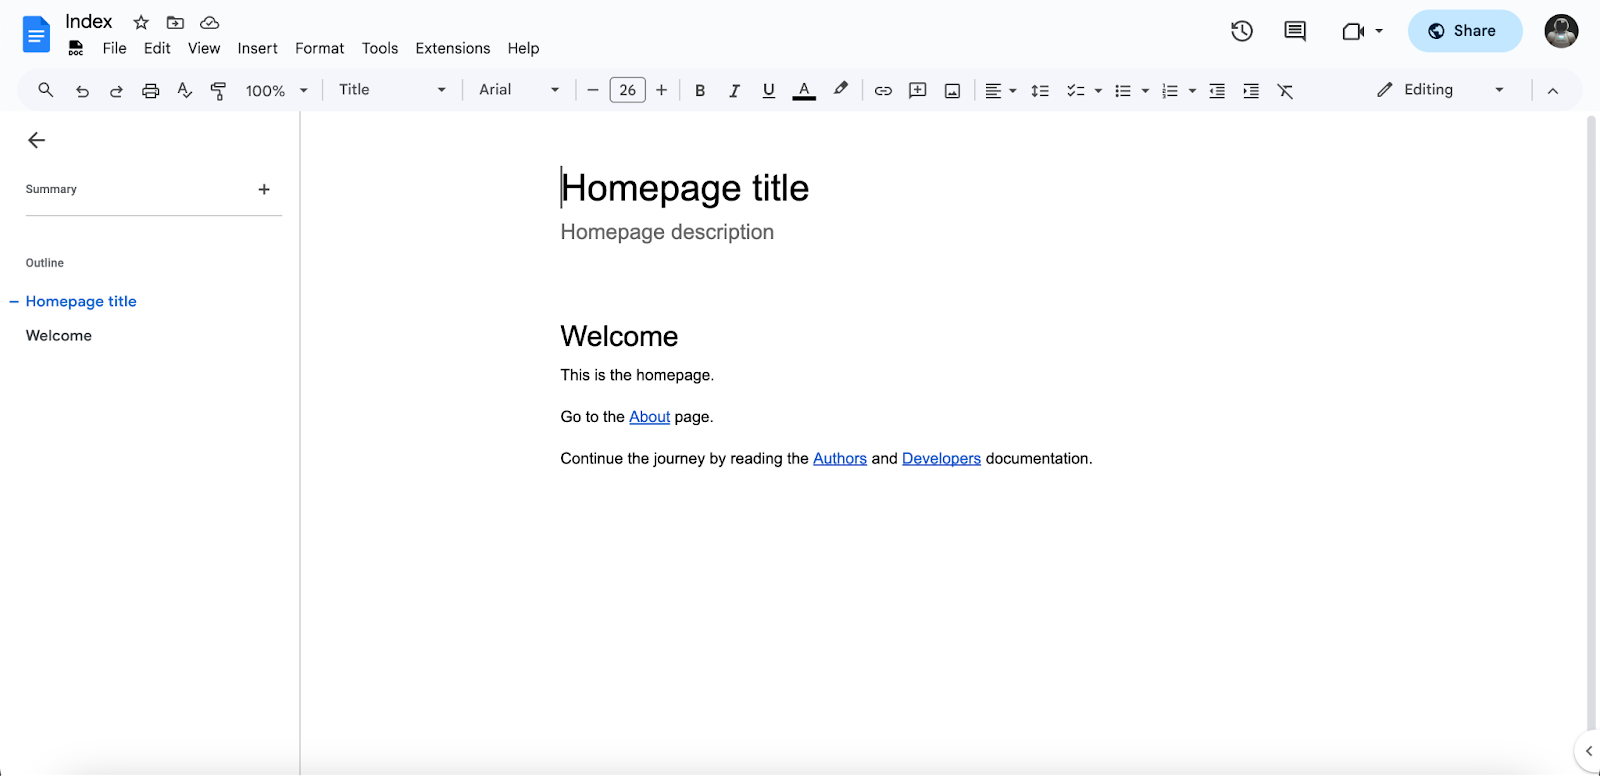
Create a new Google Document under your project folder and name it Index. This is going to be the home page. Start adding some content like headings, text or images.
Use different styles to structure your content. Title and subtitle styles can be used to describe HTML page metadata title and description respectively. Headings styles are mapped to HTML headings etc.
Finally, you should have a similar structure to the site example you can find here.
You can easily link to other pages by inserting a hyperlink to other Google Documents. Linking is not limited to Documents. You can also link Spreadsheets, PDF files, Document headings or external links as long as the link references content under the project folder.
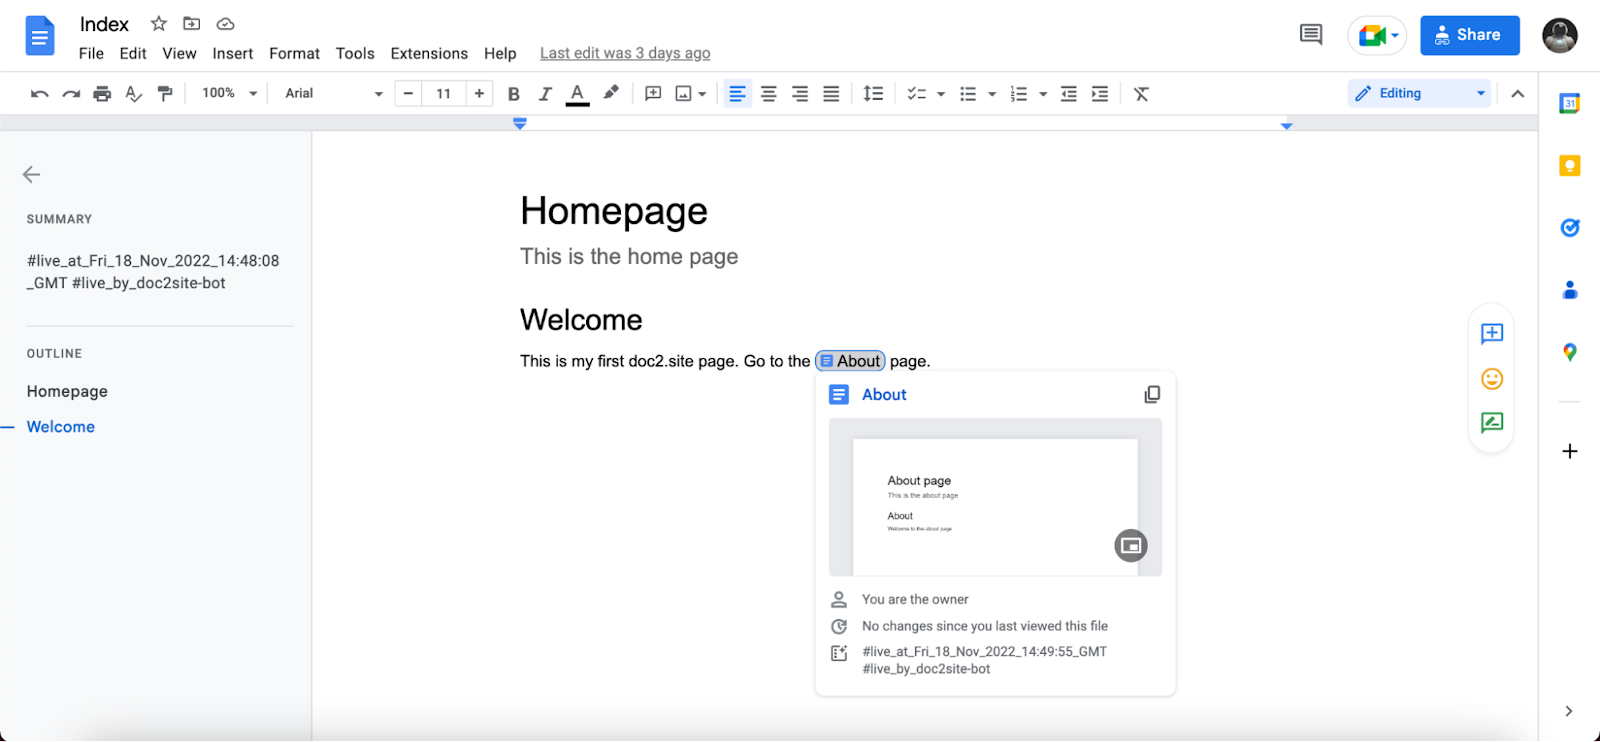
You can learn all tips and tricks on how to author Documents for doc2.site here.
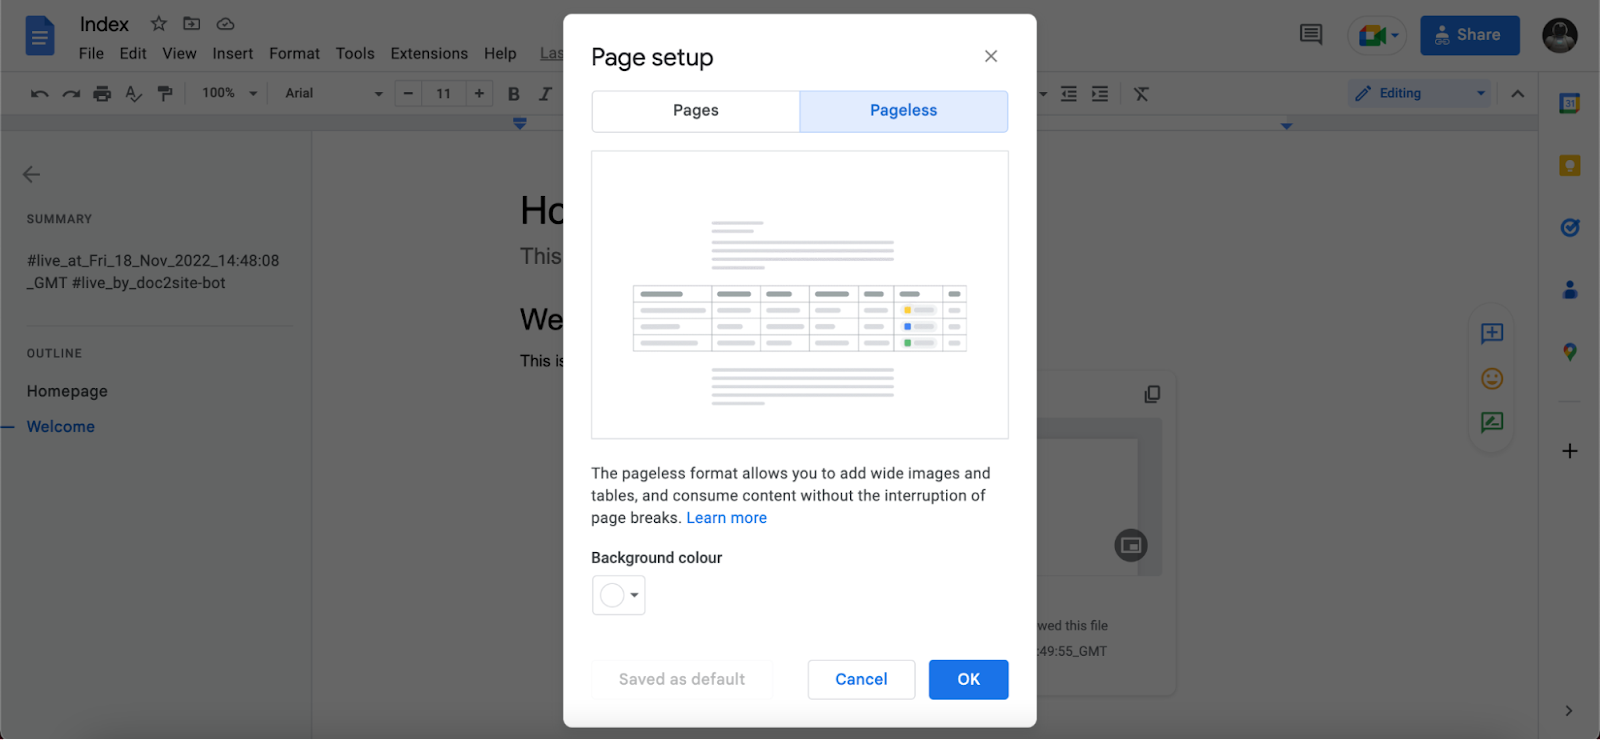
Tip: We highly recommend enabling the Pageless Setup to remove page breaks and improve visibility in Documents.
Browser extension#
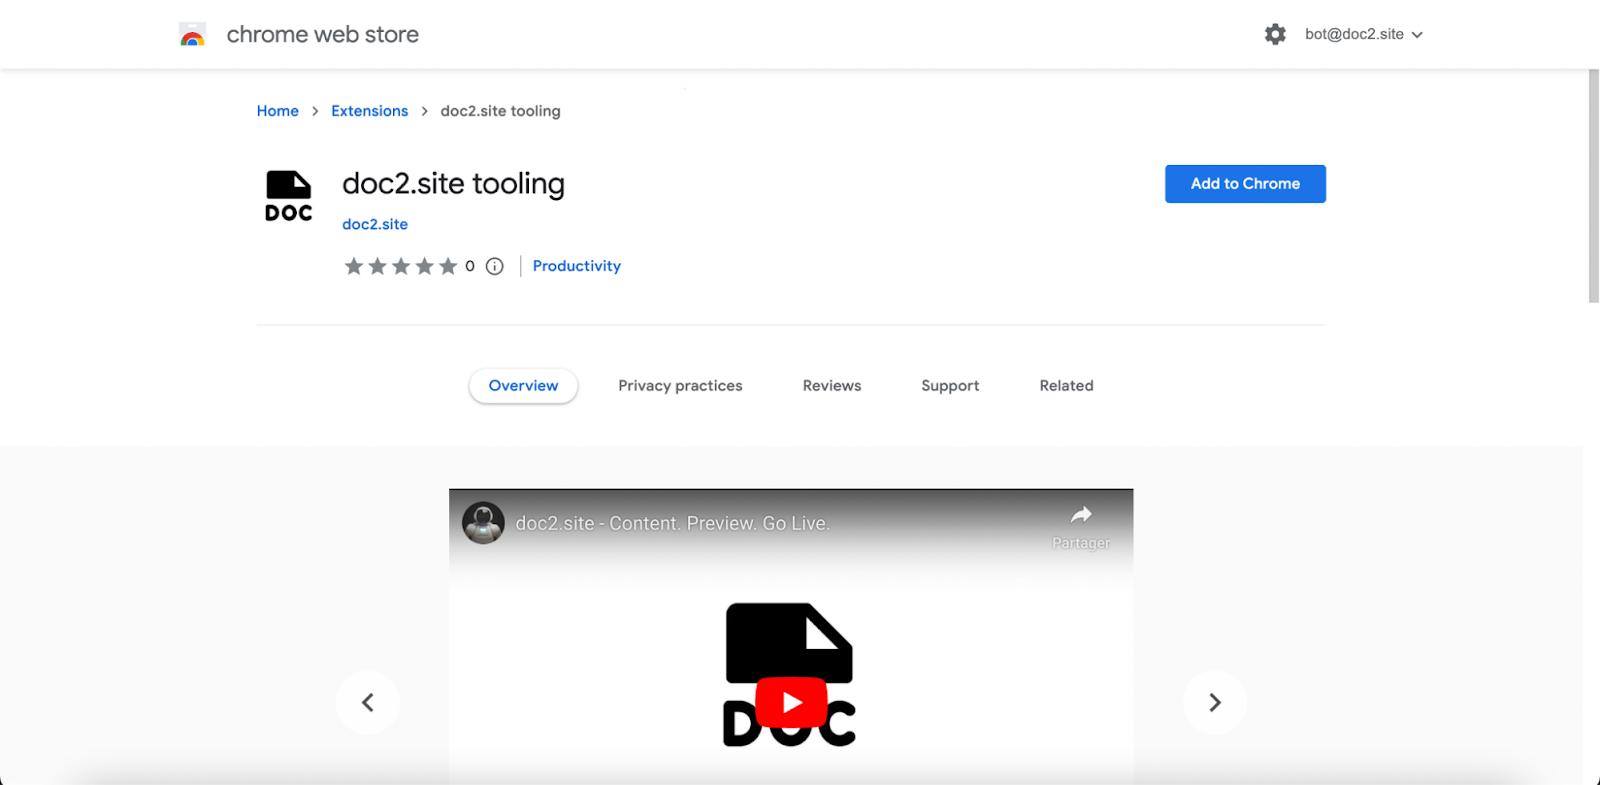
First, install the Browser Extension (only available in Edge and Chrome). To learn more about browser extensions, please read the documentation.
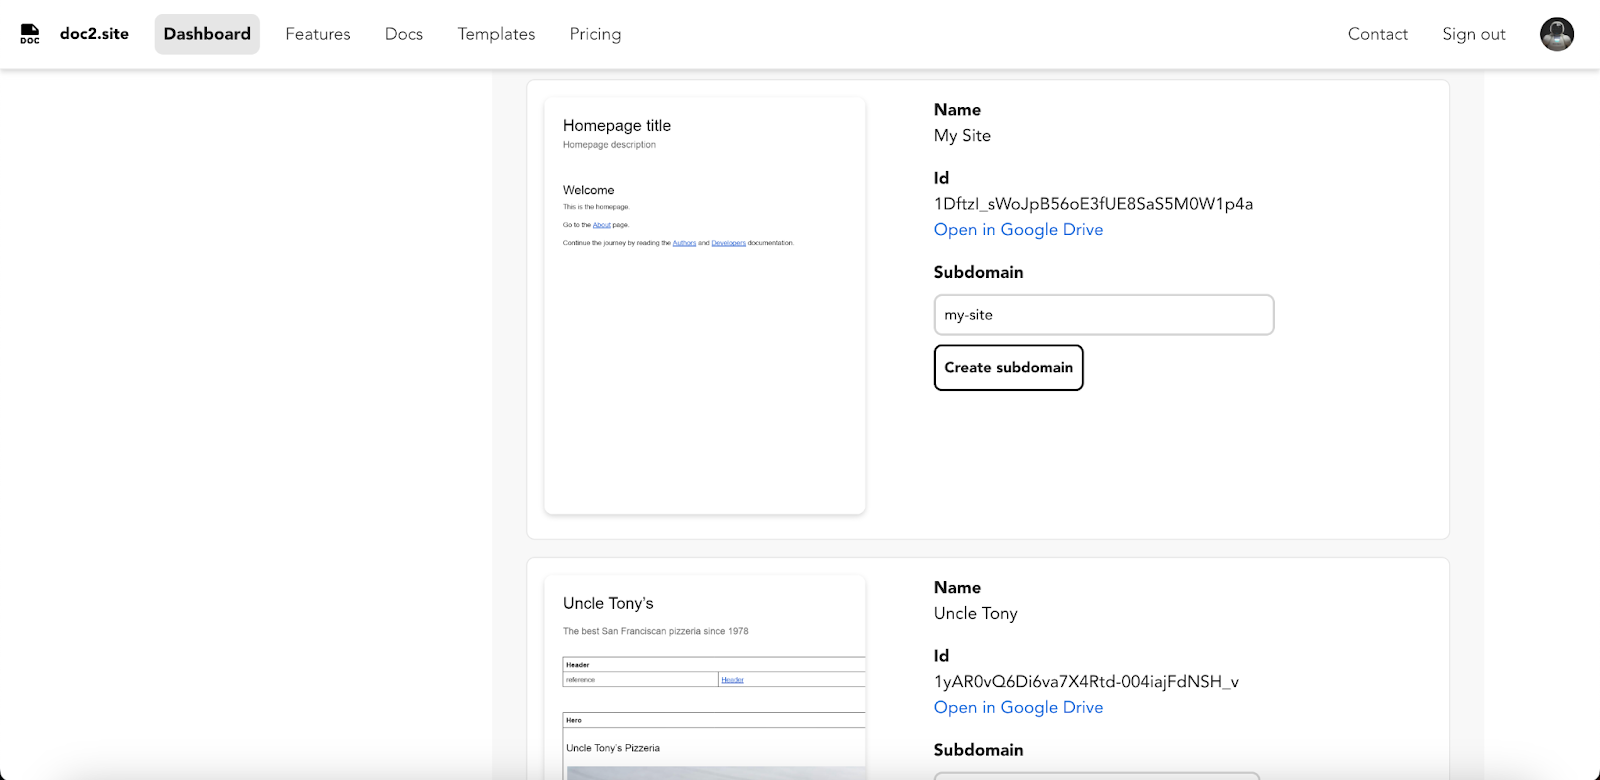
Next, go to the Dashboard where you’ll find a summary of all your projects. If your project is not listed, try refreshing the dashboard and make sure the project is shared with bot@doc2.site and that you have write access.
The browser extension requires your doc2.site credentials namely your email and secret to work. The credentials are synced by default when you login or generate a new secret.
To use the doc2.live and doc2.email services, you’ll need to create a subdomain. By default the subdomain is set to the project name. Once created, you can access the service with preview--<subdomain>.doc2.live or preview--<subdomain>.doc2.email for content published to the Preview workspace and <subdomain>.doc2.live or <subdomain>.doc2.email for content published to the live workspace.
With the Developer Plan you have access to the Private and Preview workspaces to publish content. If you’re on the Business Plan, you also have access to the Live workspace.
You can always update the subdomain later. It can happen that the subdomain is already taken by another project. In that case, we recommend creating a unique subdomain for your project.
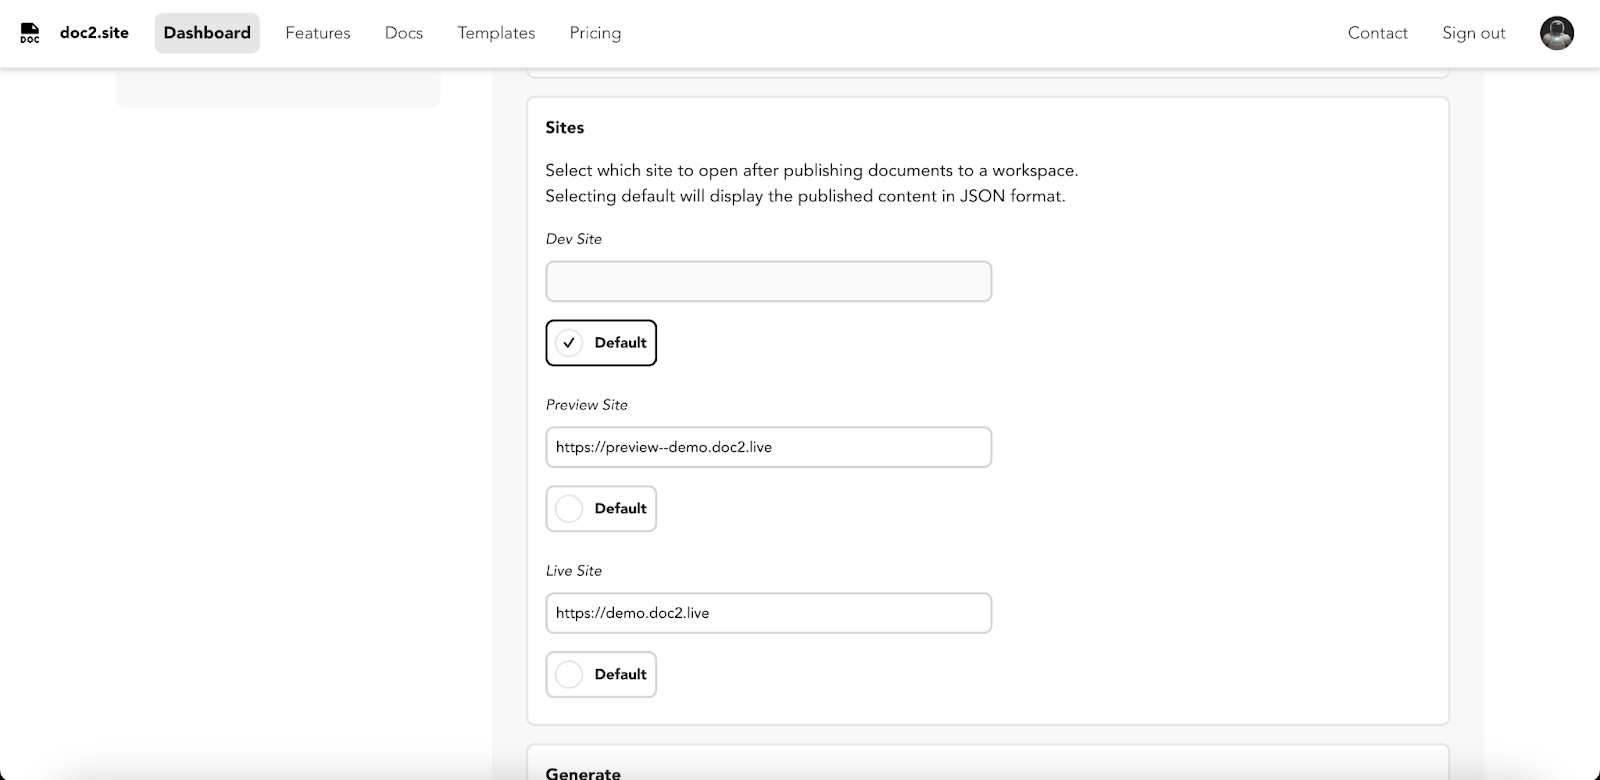
Then, go to the Dashboard Configurator where you’ll select the newly created project you want to add to the Browser extension. Optionally, you can set a custom website URL to open when content is published instead of the default URL which opens the published content in headless JSON format.
If the selected project is configured with a subdomain, the preview and live URLs will be set to the doc2.live URLs by default.
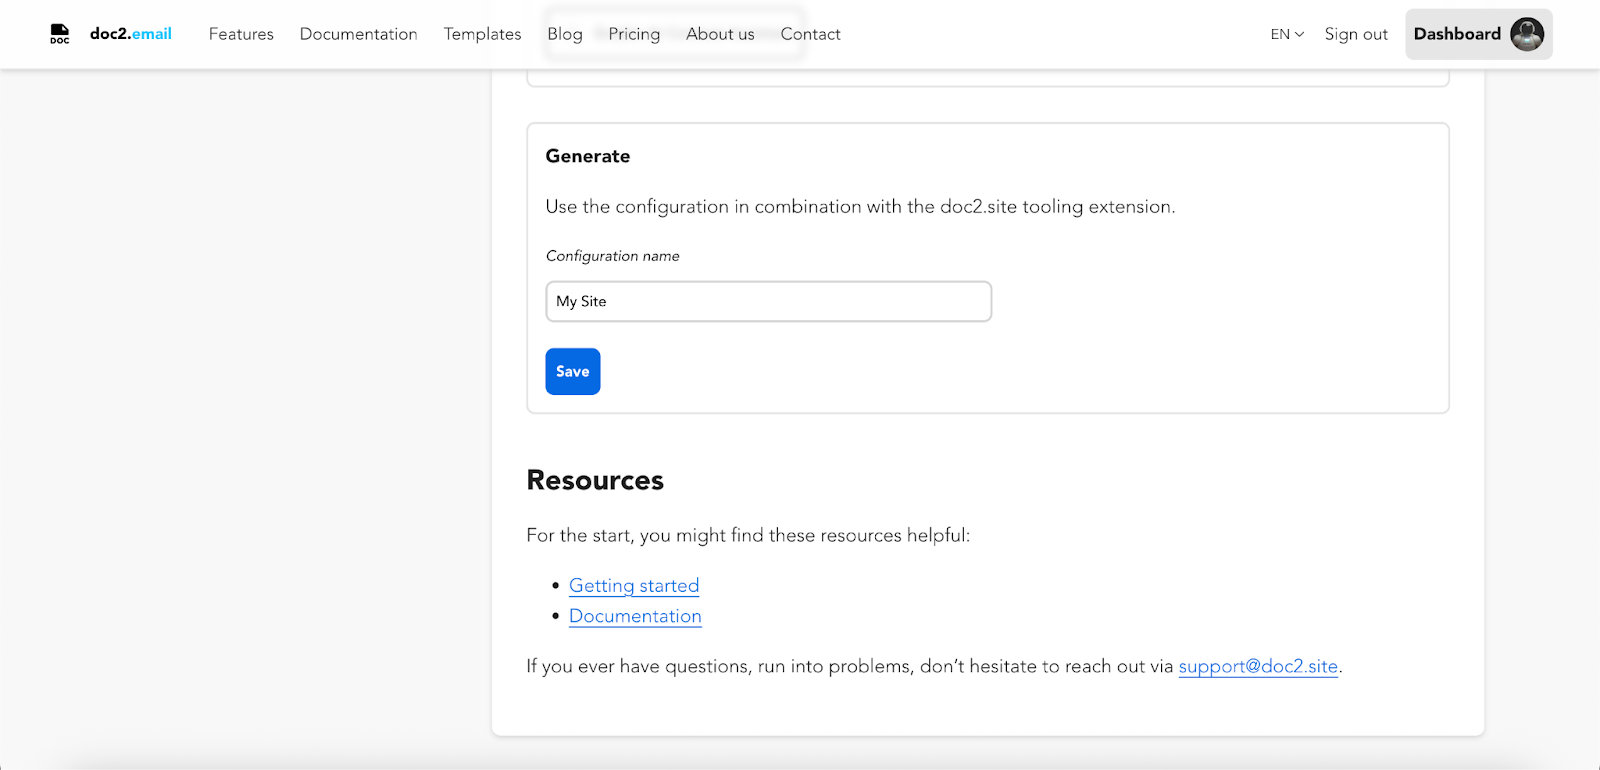
Finally, press the Save button to sync the project with the Browser Extension. Now the Browser Extension will automatically load the selected configuration on Google Docs and Sheets.
Once saved, you can also share the configuration with team members by clicking on Copy configuration to simplify the project configuration process.
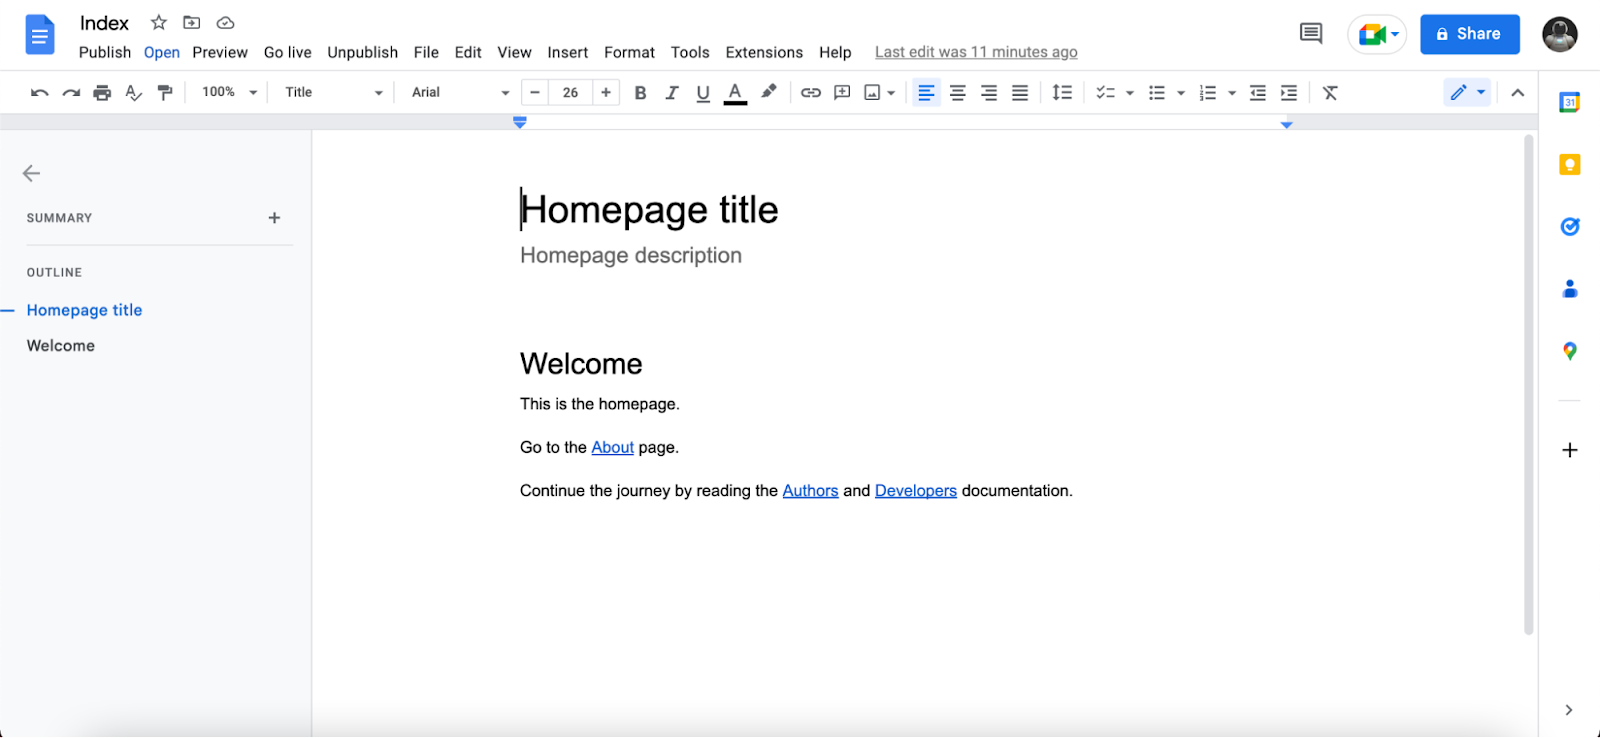
Go back to your doc2.site project folder, you should see the doc2.site logo appear next to navigation. It will only appear if you load to the project root folder page.
Click on the button to open an overview of all documents available in the project that can be published to the configured workspaces. The publishing actions will only appear for the configured workspaces. This tool can be used for publishing multiple documents simultaneously (or bulk publishing).

Alternatively, you can go back to the Index document and click on the doc2.site logo next to “File” to load the publishing actions. The publishing actions will only appear if the selected configuration matches the project folder where the document or spreadsheet is opened.
Before publishing, always make sure the document or the sheet is saved to Google Drive.
If you have configured your project with a subdomain and set the preview URL with doc2.live (or doc2.email), you will be given the option to generate a Quick look by clicking on Viewer. This type of preview doesn’t actually publish the content but still lets you see how the page would be generated if published.
Quick look will generate a preview of the content and open a simple unstyled HTML page as below:

We recommend using Quick look because it’s much faster to render the page without publishing it making the whole process of publishing content changes to the web faster and safer overall. It also allows users to preview how the page renders on different screen sizes including mobile, tablet, laptop and desktop devices.
To publish the page to your Private workspace, click on the Publish button until a link is displayed which will take you either to the published content or the site depending on what you’ve configured.
Clicking on Preview will publish the content publicly to the Preview workspace which is public. Finally, clicking on Go live will publish the preview content to the Live workspace which is optimized for performance. Please keep in mind, it’s not possible to publish content to the Live workspace without previewing it first.
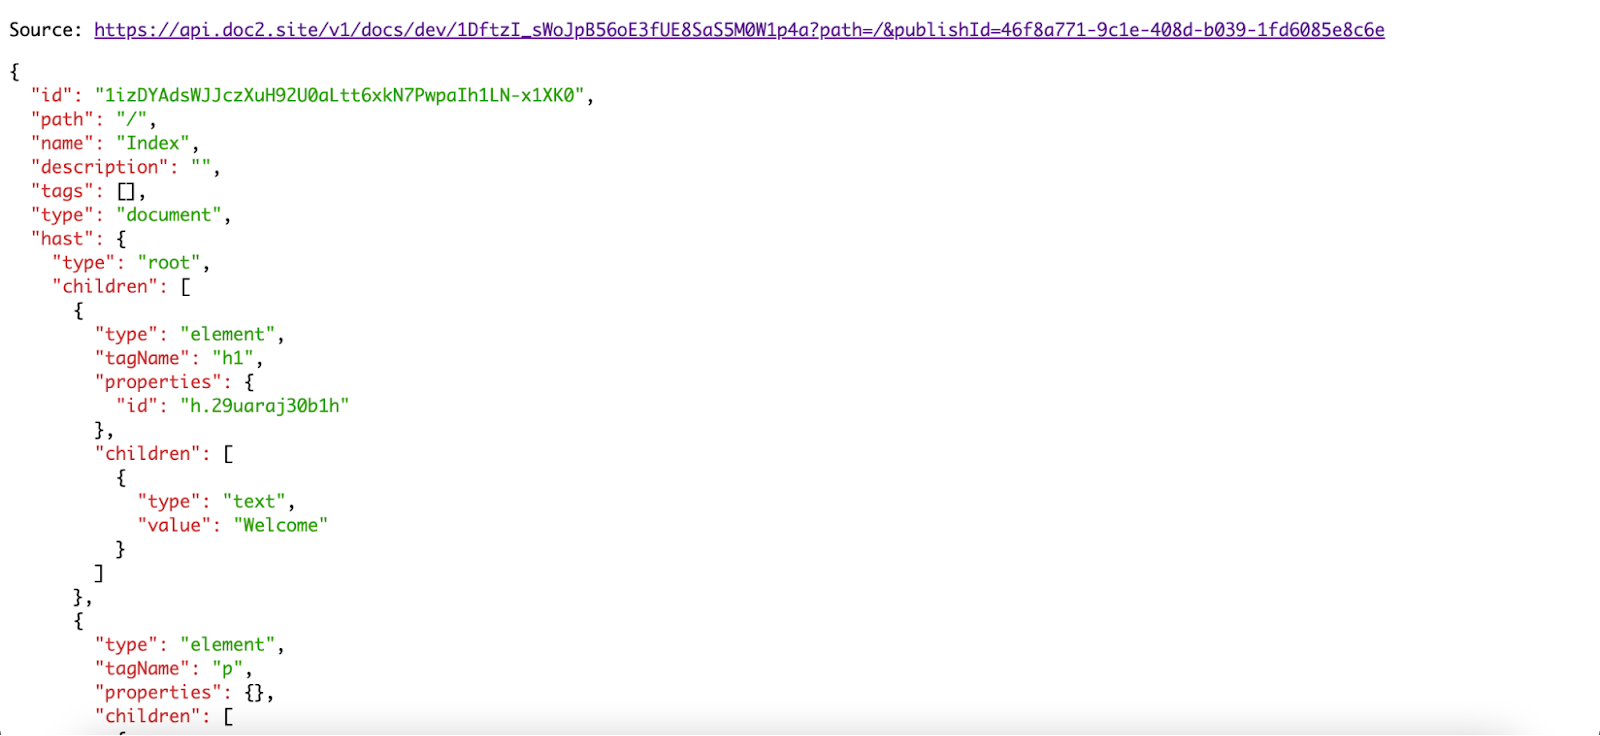
The published content is accessible via API and gated for the Private workspace only.
Once the content is published, a new action will appear to unpublish the content if needed.
The publishing process is the same for Spreadsheets, the main difference being that you can publish each sheet independently. If you have opt-in to display the published content in JSON format, you should see something similar to this:
Open the About page and repeat the process starting by clicking the doc2.site logo to load the publishing actions.
Congratulations, you have learned how to create and publish content via the Browser Extension.
Quickstart with the Business or Blog Template#
Ready to use the Business or Blog Template ?
Start by creating your doc2.site Google Drive project folder as explained above. Your newly created project will appear on the Dashboard. Create a custom subdomain for your project and add it to the Browser extension as the selected project to be able to publish content.
Business Template content#
Content Source: https://drive.google.com/drive/folders/11JKDnkxttWrQqdHDho2XTCAAU-dEd-H-
Code Source: https://github.com/doc2-site-bot/business-template
Blog Template content#

Content Source: https://drive.google.com/drive/folders/18SDzMXTO9qIuapPrfY1cX7In-mJJ5qF8
Code Source: https://github.com/doc2-site-bot/blog-template
Copy Paste#
Replicate the Business/Blog Template content structure by following these steps:
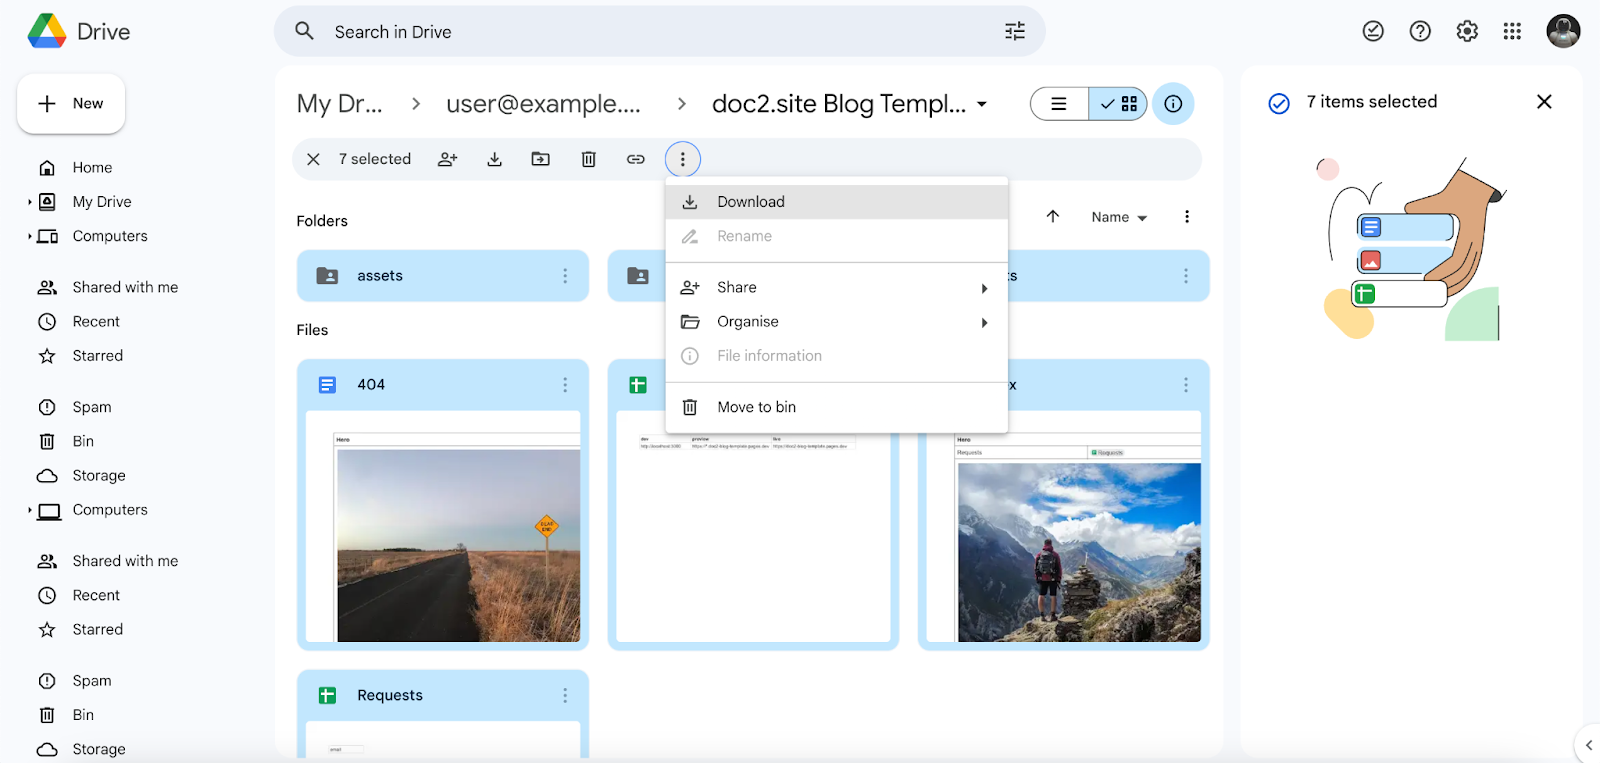
Download the template folder as a zip
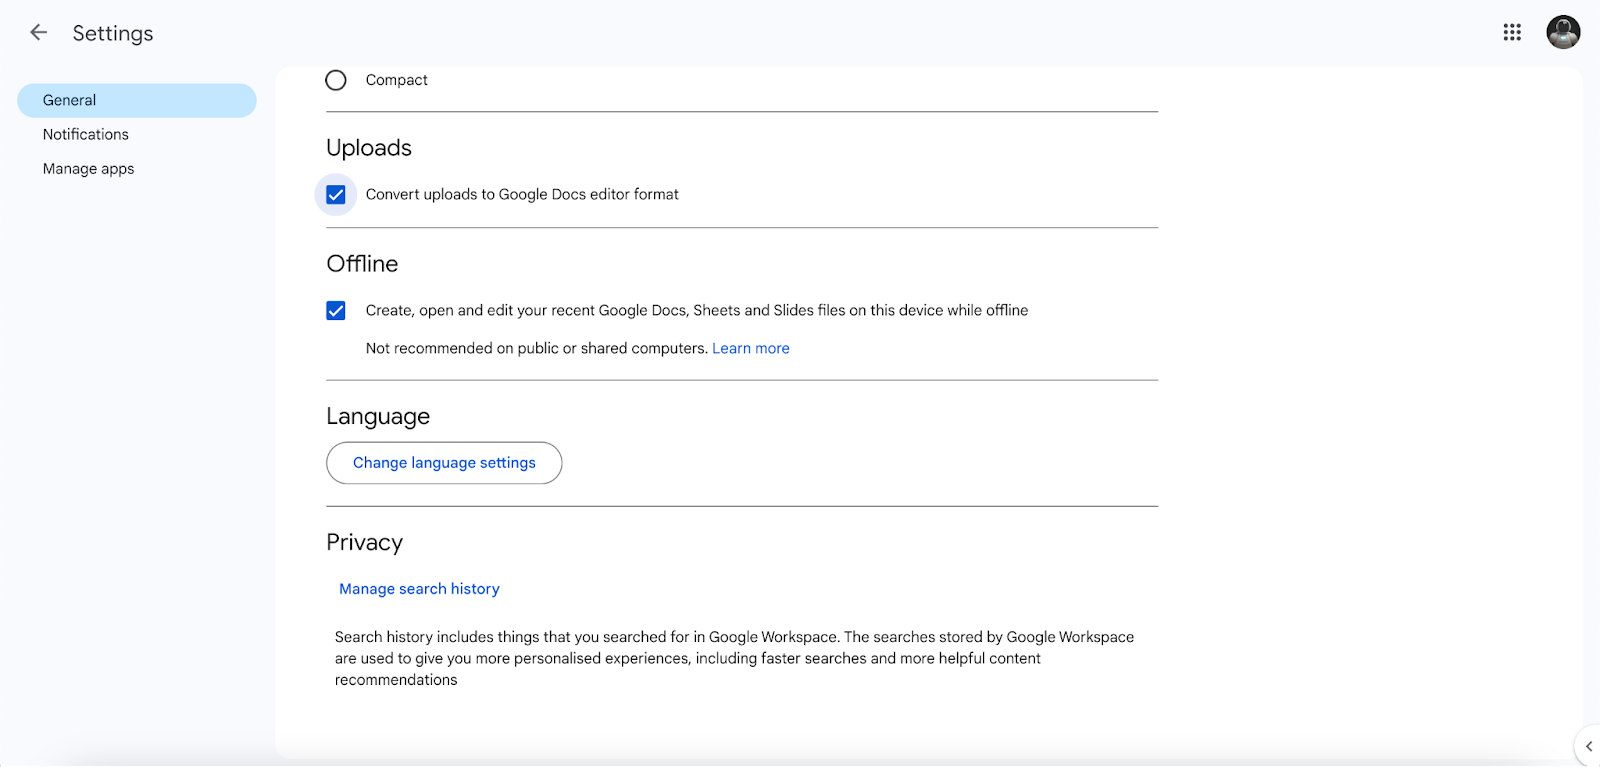
Enable converting uploads to Google Docs editor format in the Google Drive Settings
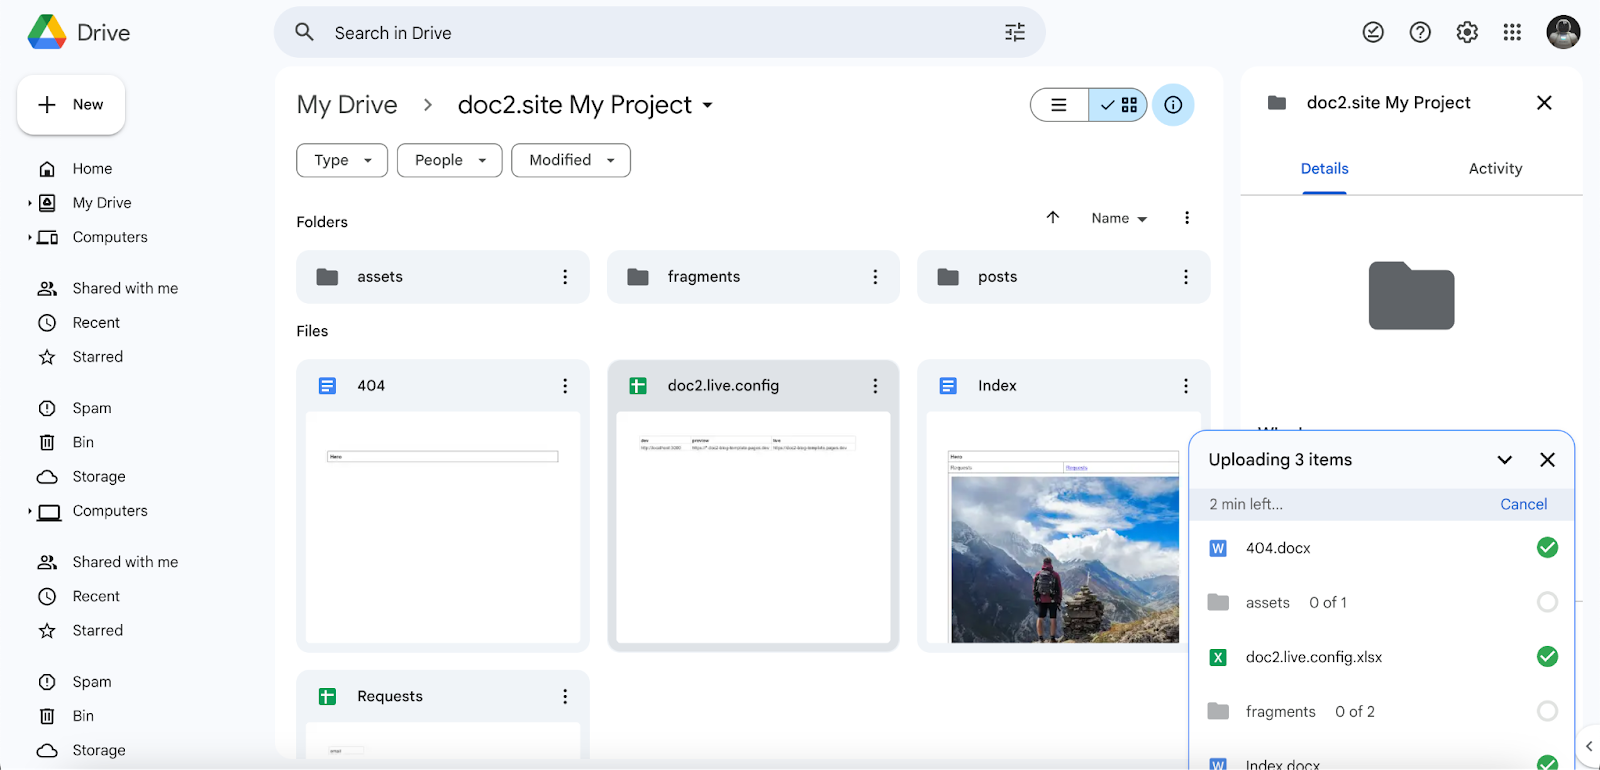
Unzip the template folder and drag the content into your project folder. This will convert the Word and Excel files to Google Docs and Sheets.
Adjust the links in the documents to point to the newly created documents
To match your brand identity, you can:
- Change the favicon image in the assets folder.
- Replace the logo in the
headerandfooterdocuments. - Update the metadata e.g. the site name in the
doc2.live.config - metasheet.
Once you’re ready to publish a page using the Browser Extension, start by publishing (i.e. preview) the doc2.live.config - theme sheet which will link the code (JS and CSS) to your content and the meta sheet which contains global metadata about your site. Next, publish the documents in the fragments folder like the header and finally, publish the other documents.
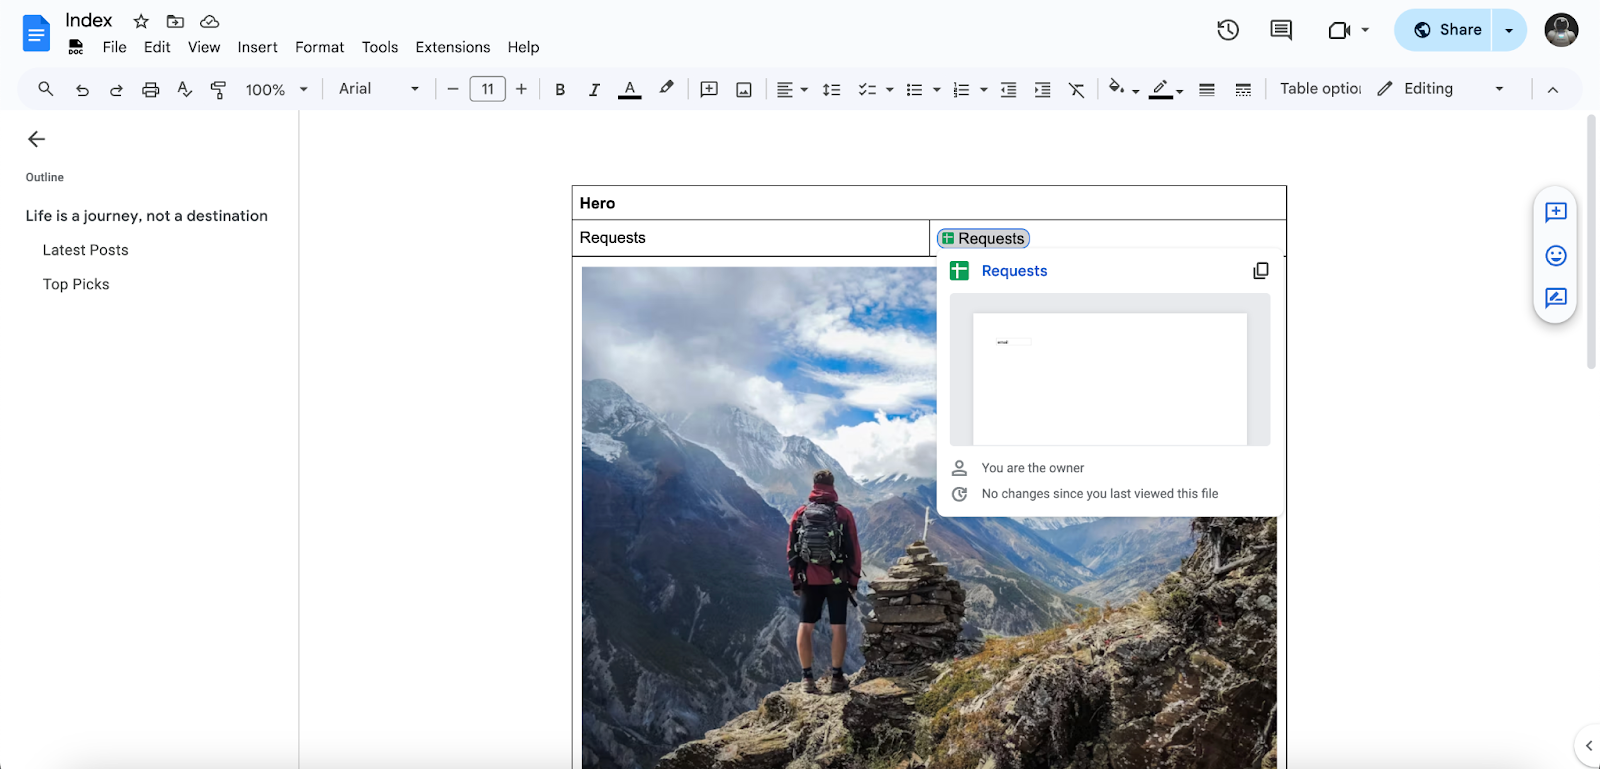
Your best friend for authoring the documents will be copy pasting. Simply copy paste the tables and update the content to create components. Keep in mind that you should use the appropriate headings e.g. Heading 1, 2 etc. and follow the existing content structure e.g. image followed by a Heading 1 for the Hero component.
If you require assistance to go live, please contact us and let us know how we can help.
Next steps#
For authors#
Learn everything you need to know to create SEO friendly documents and components within documents with Publishing Content.
For developers#
Do you have HTML, CSS, JavaScript knowledge ? Build your own website and go live with your custom domain:
You need to send emails ? Start building modern email templates with Building Modern Emails with doc2.email.
Are you familiar with Frameworks like Astro or Next.js ? You know how to write JSX and Tailwind rings a bell ? Build custom Web Experiences with the Headless APIs.
You’d like to get more familiar with the APIs ? Checkout the API references.