Going Live with doc2.live
Learn how to host a doc2.live project on a custom domain with Cloudflare.
Go Live checklist#
Before launching a website, it's essential to go through a series of steps to ensure that everything is in order. Here are the key steps to take before making your website live:
Content Review and Proofreading#
- Review all written content for accuracy and clarity.
- Check for grammatical errors and typos.
- Ensure that all content is up to date and relevant.
Testing Across Browsers and Devices#
Test your website on various web browsers (e.g., Chrome, Firefox, Safari, Edge) to ensure compatibility.
Verify that the website functions correctly on different devices, including desktops, tablets, and mobile phones. Ensure that the website is responsive and mobile-friendly.
Functionality Testing#
Test all website functionalities, including forms, navigation menus, search bars, and interactive elements.
Verify that links and buttons work as intended.
Check for proper redirection of URLs.
Core Web Vitals#
Web Vitals is an initiative by Google to provide unified guidance for quality signals that are essential to delivering a great user experience on the web. You can verify that your site is passing the tests at https://pagespeed.web.dev/.
Accessibility Check#
Ensure that your website is accessible to all users, including those with disabilities, by following accessibility guidelines (e.g., WCAG).
SEO Optimization#
- Optimize on-page SEO elements, including meta titles, descriptions, and headers.
- Verify the robots.txt and the sitemap are ready for search engines, especially for multilingual sites.
- Ensure that URL structures are SEO-friendly.
Security Measures#
Verify that your website doesn’t leak any confidential data or passwords. Verify that the website is not subject to XSS or CSRF attacks.
Analytics Integration#
Optionally, integrate your preferred website analytics tools to monitor user behavior and track website performance after launch.
Legal Compliance#
Review and update privacy policies, terms of service, and disclaimers to ensure compliance with relevant laws and regulations.
Implement cookie consent notices if applicable.
404 Error Handling#
Set up a custom 404 error page to guide users who encounter broken links or non-existent pages to relevant content.
Register your Domain#
A domain can be purchased with Cloudflare Registrar which supports common top level domains (TLDs) including .com, .net, .org, as well as hundreds more.
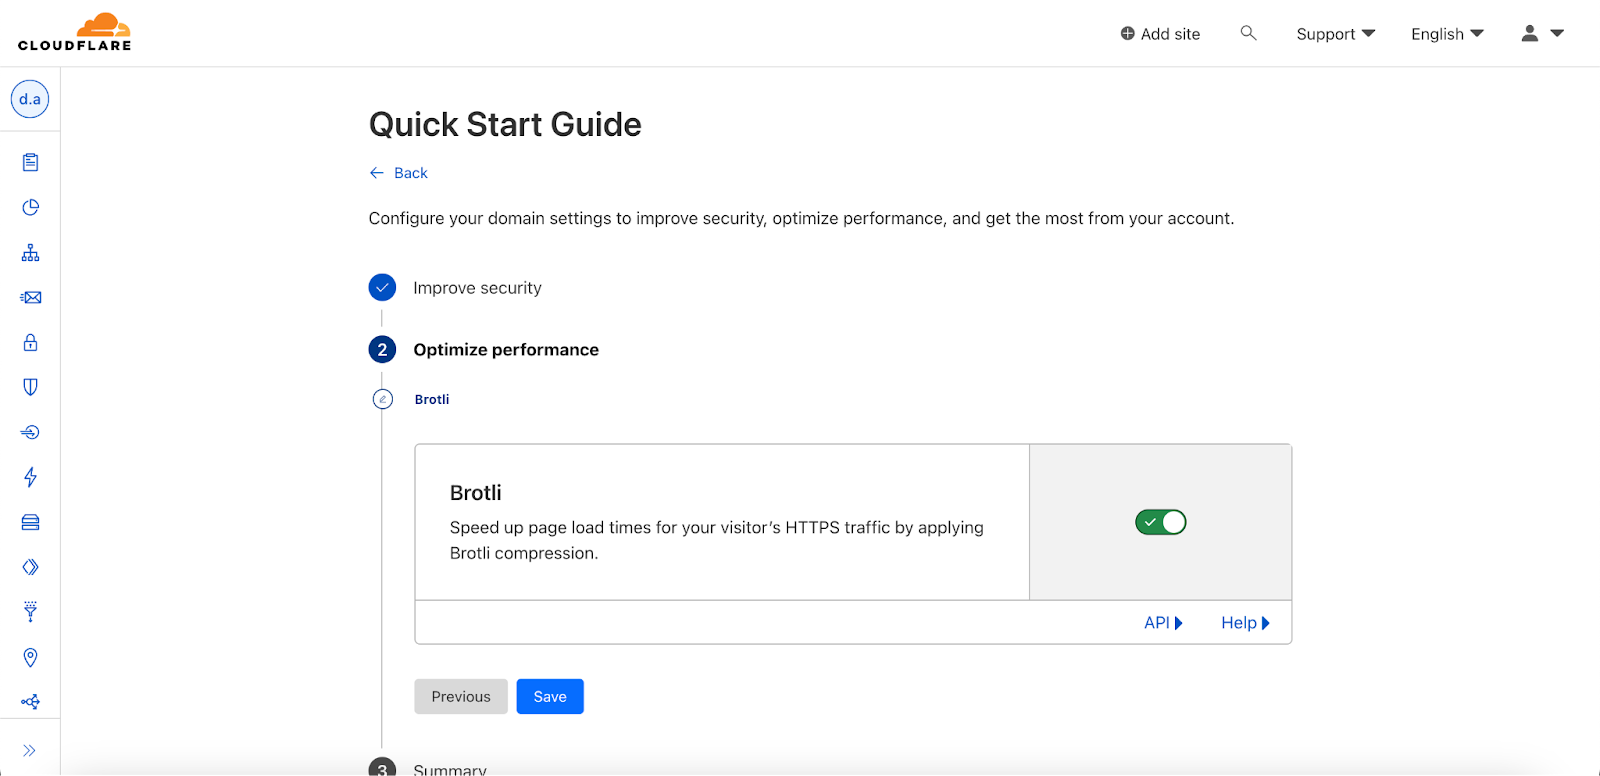
If you’re already owning a domain, and you intend to deploy your apex domain (for example, example.com), then you will need to add your site as a Cloudflare zone and configure your nameservers. Go to your Cloudflare Dashboard and click on Websites.
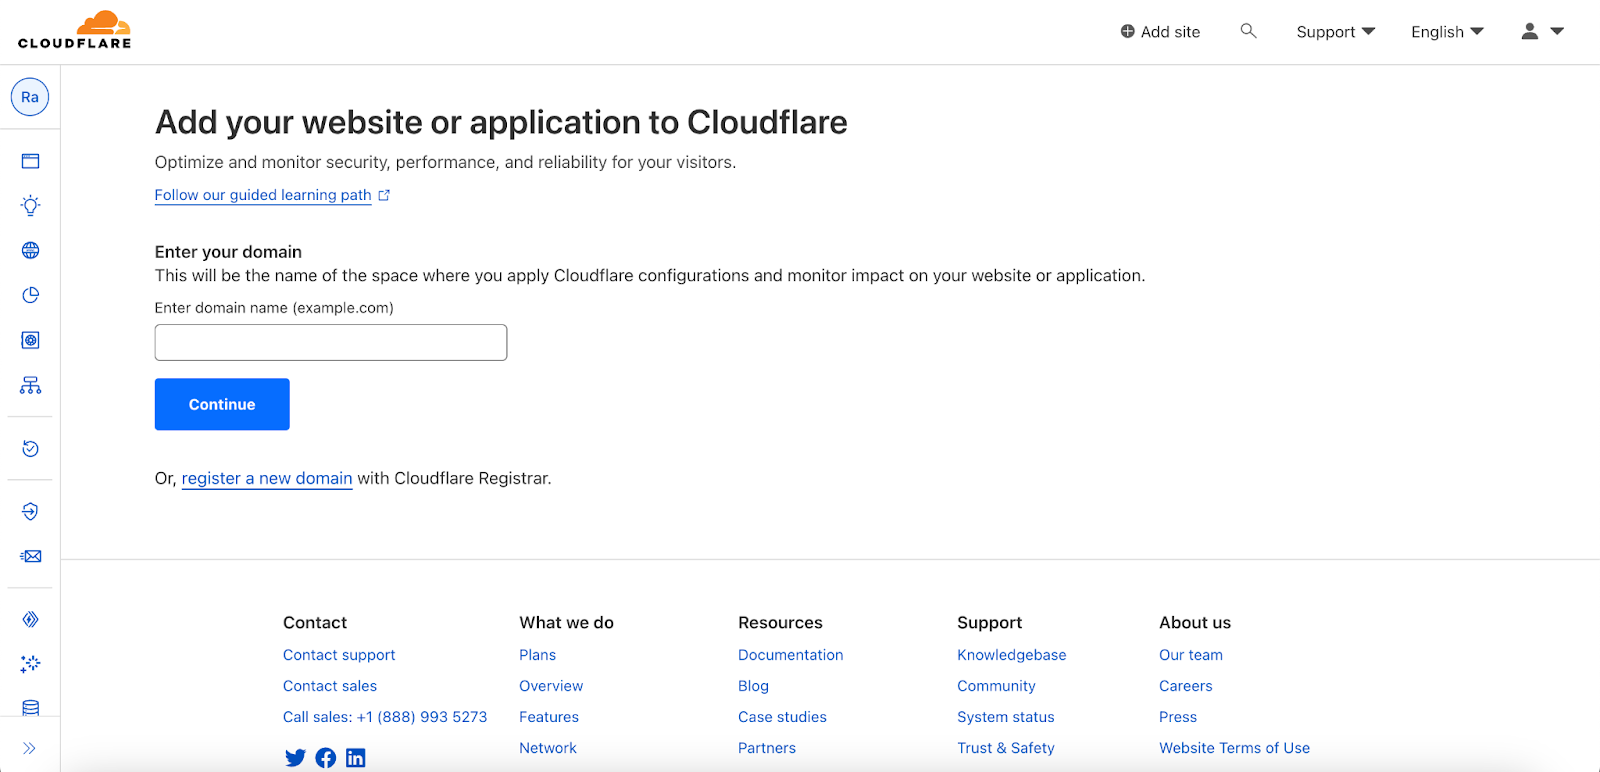
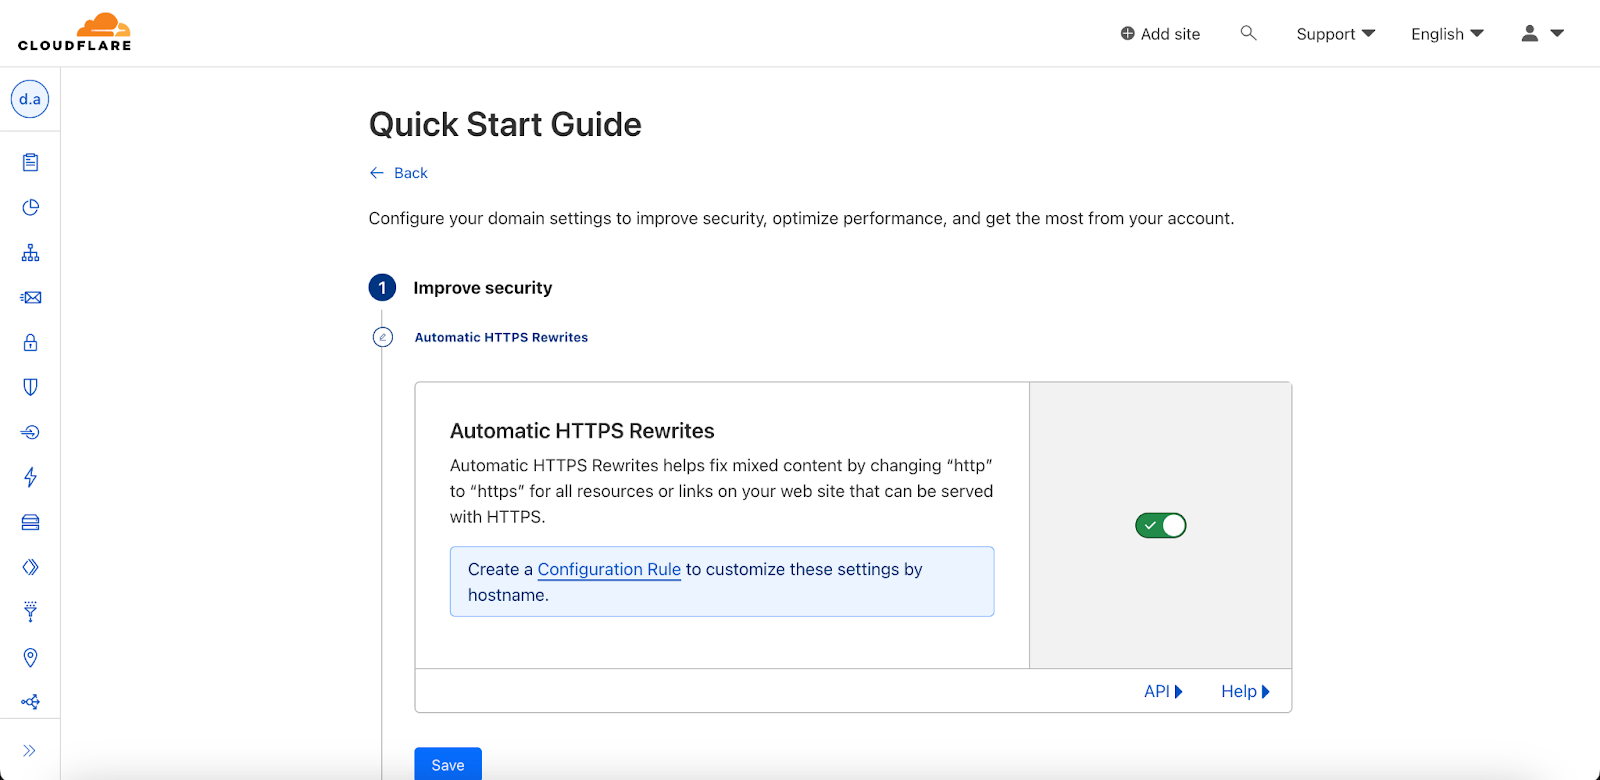
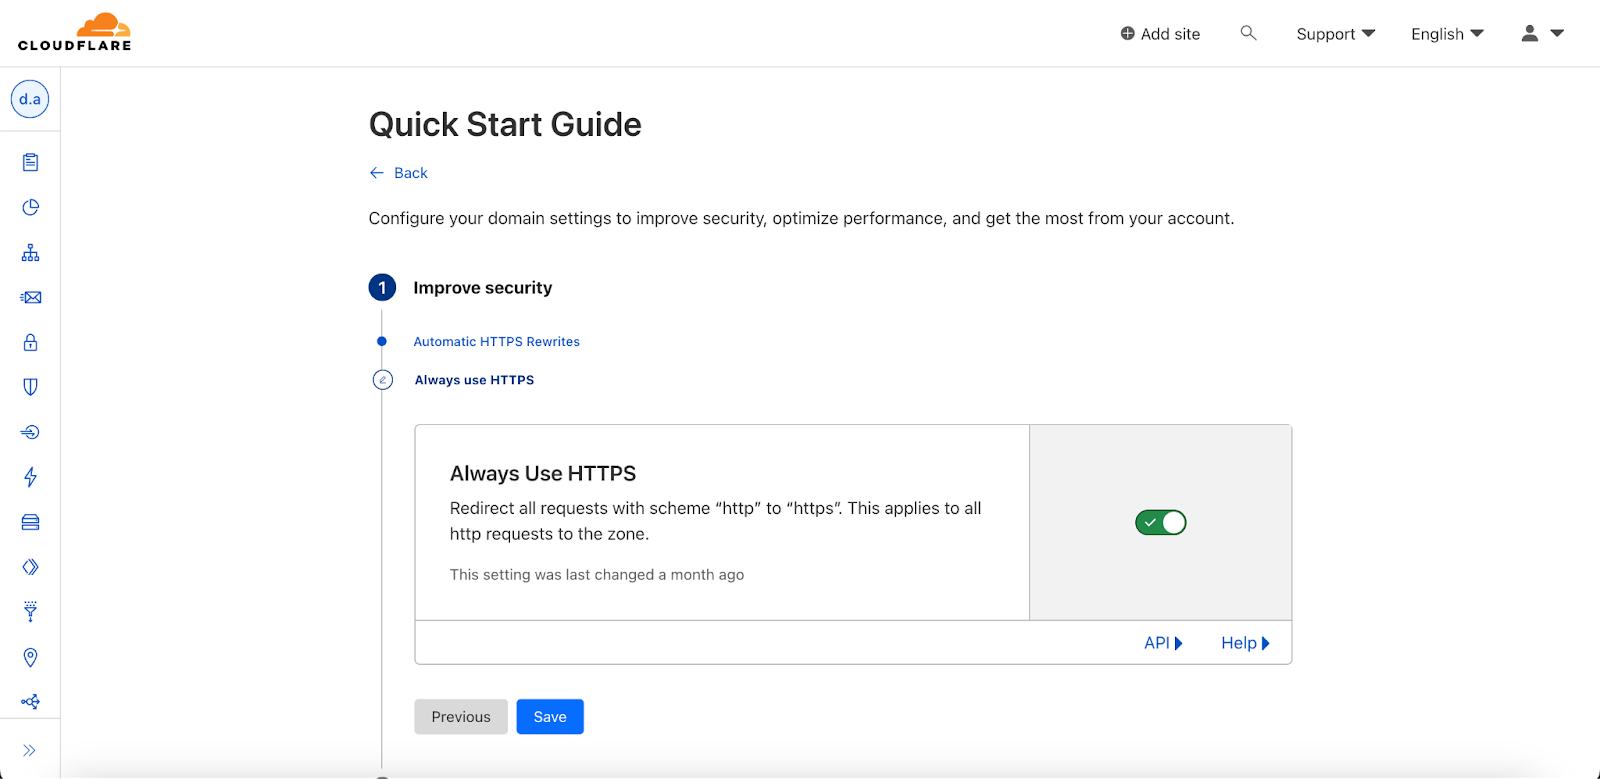
Follow the quickstart guide to get setup quickly:
Browser Extension#
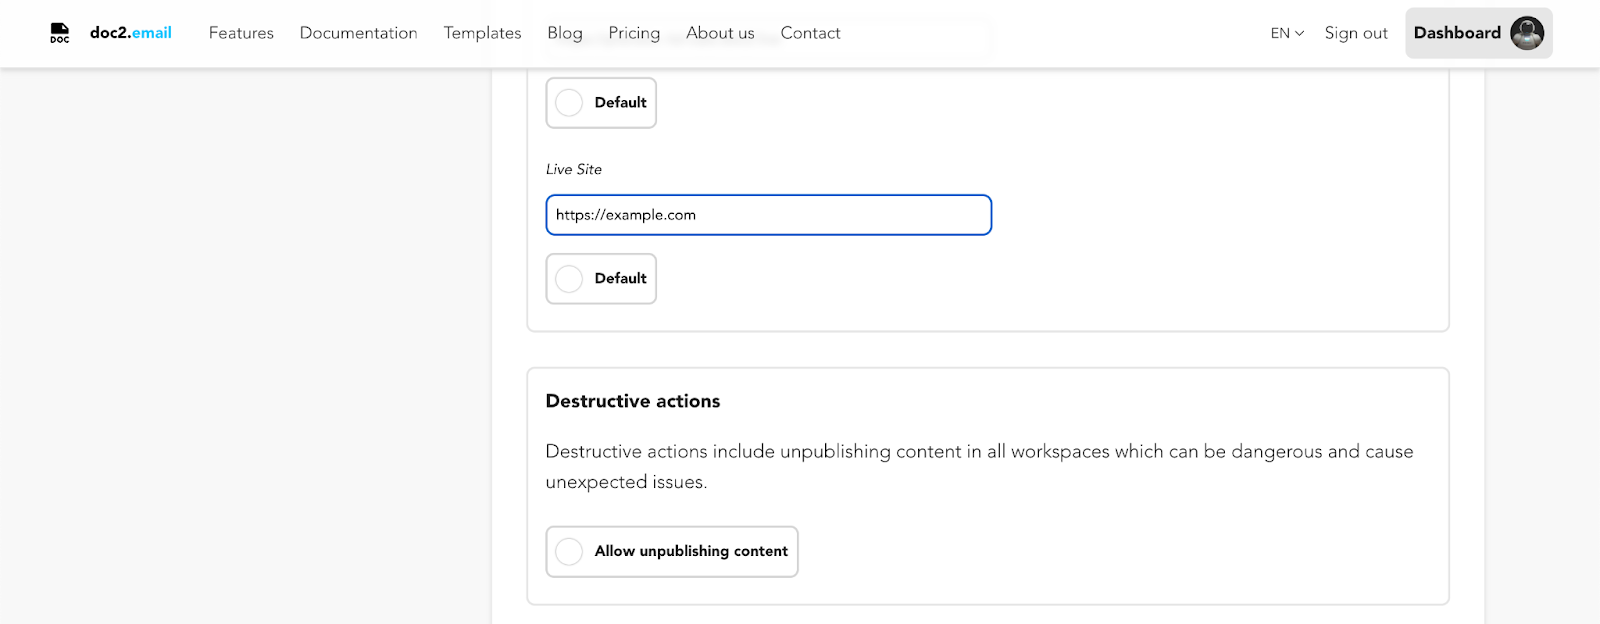
If not already done, update your doc2.site tooling project configuration and point the Live Site URL to your domain instead of the doc2.live subdomain. This will ensure that whenever content is published with the Browser Extension, the domain URL will be used as reference ensuring optimal caching behavior.
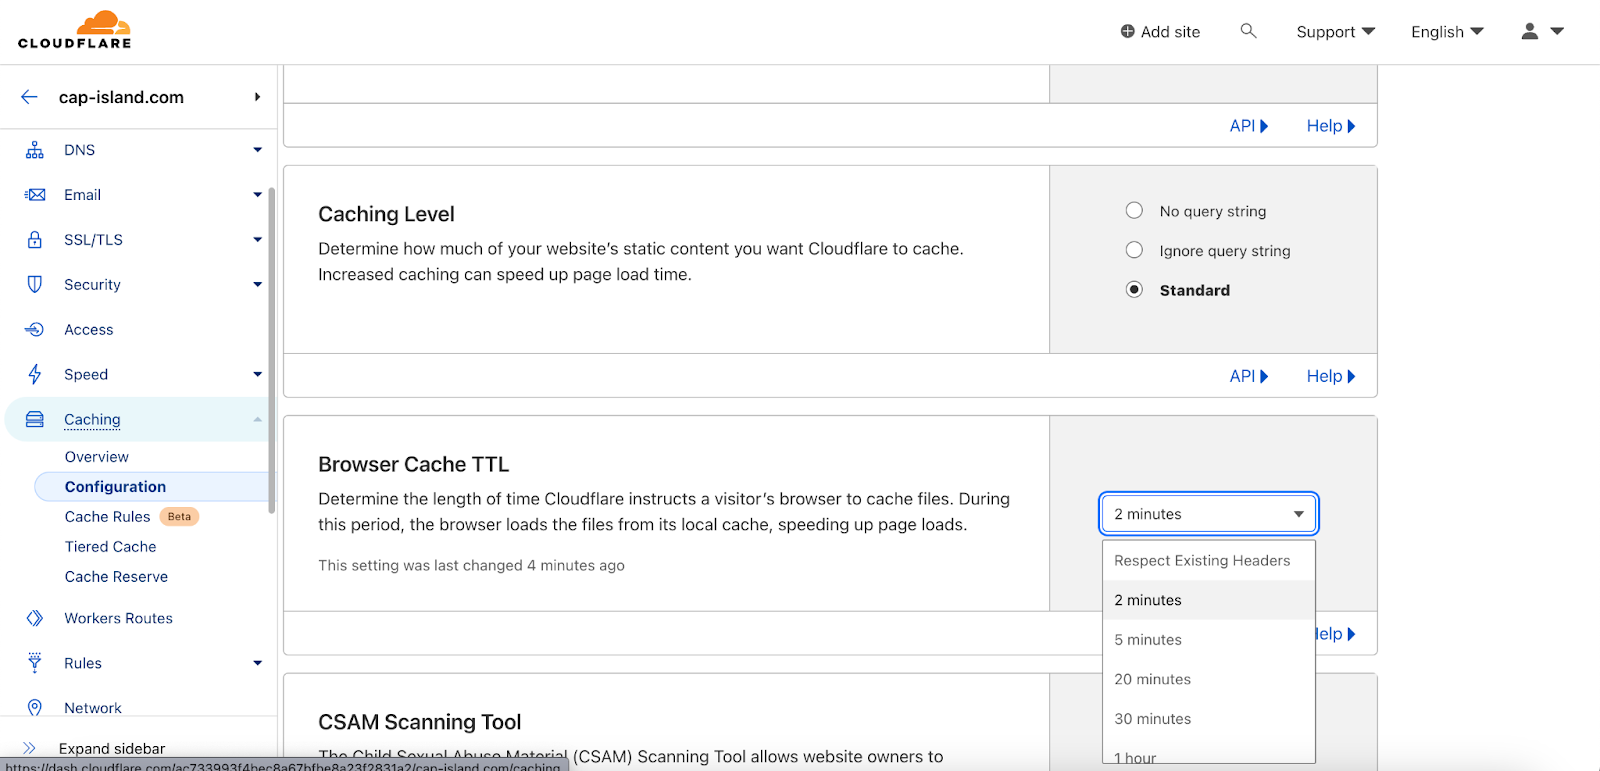
Configure Cache headers#
Verify your caching configuration and adjust the Browser Cache TTL if needed, the default setting being 4h. If your site is updated frequently e.g. on a daily or weekly basis, we recommend setting lower values to ensure users are getting fresh content.
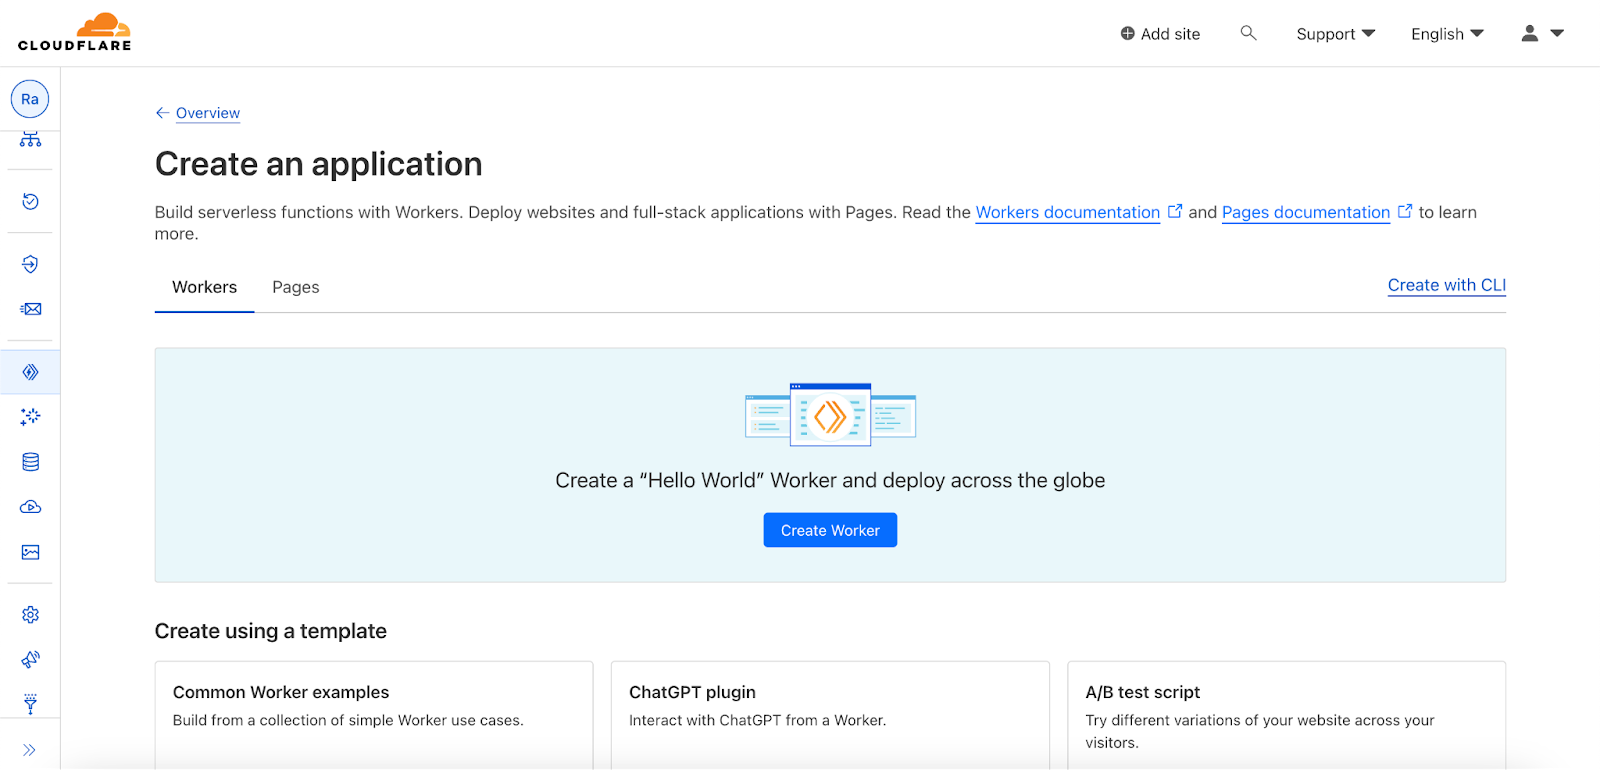
Create a Cloudflare worker#
Once your domain appears as a website on Cloudflare, the easiest way to go live with your domain is to create and deploy a Cloudflare worker. This can be done entirely in the browser by using the Cloudflare Dashboard.
Once the worker is deployed, you can edit the code by clicking on the Quick Edit button. Copy paste the following code by replacing <subdomain> with your doc2.live subdomain and <domain> with your domain and then hit Save and deploy.
'use strict';

const handleRequest = async (request, env, ctx) => {

  const url = new URL(request.url);

  url.hostname = '<subdomain>.doc2.live';

  const req = new Request(url, request);

  req.headers.set('x-forwarded-host', '<domain>.com');

  const resp = await fetch(req);


  return new Response(resp.body, resp);

};

export default {

  fetch: handleRequest

};
Verify that the worker is successfully proxying your doc2.live site before moving on.
Link your domain to the worker#
Finally, on the workers overview page, go to custom domains and hit Add Custom Domain to link your APEX domain and CNAME www to the worker.
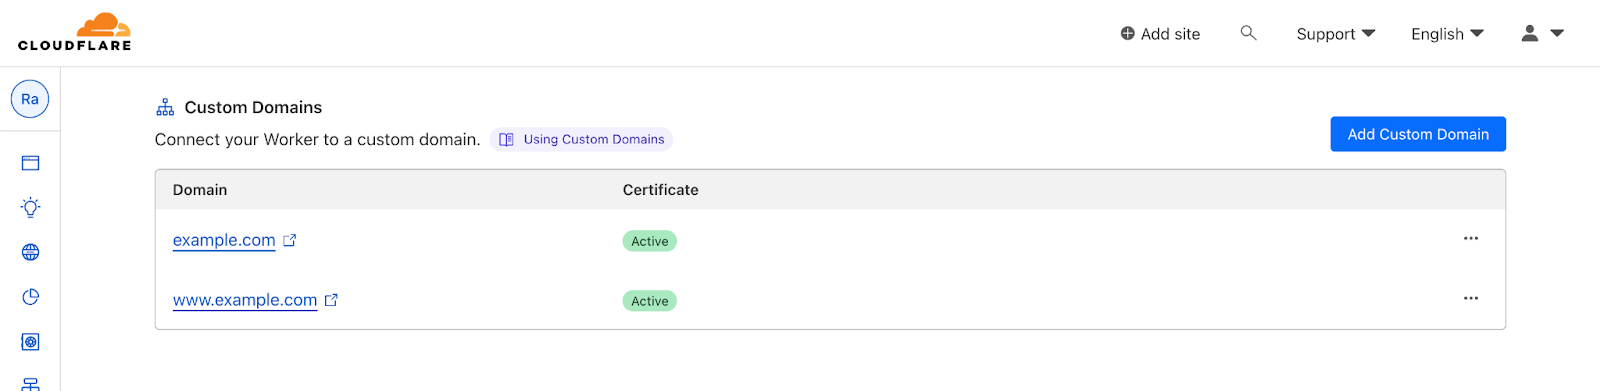
It can take a few minutes to create the certificates. Once it’s all active, tap yourself on the back, your site is live !
If applicable, announce the website's launch through social media, email newsletters, or press releases to generate initial traffic and interest.
To redirect users visiting your CNAME www to your APEX domain, follow the Cloudflare guide Redirecting www to domain apex which can be achieved using Bulk Redirects.
Google Search Console#
We highly recommend adding your website to Google Search Console. This will require you to prove to Google that you’re owning the website. The easiest way to do that is to upload a file provided by Google at a specific URL.
Please note it can take several hours or days until your content is crawled and indexed by Google.
Post-Launch monitoring#
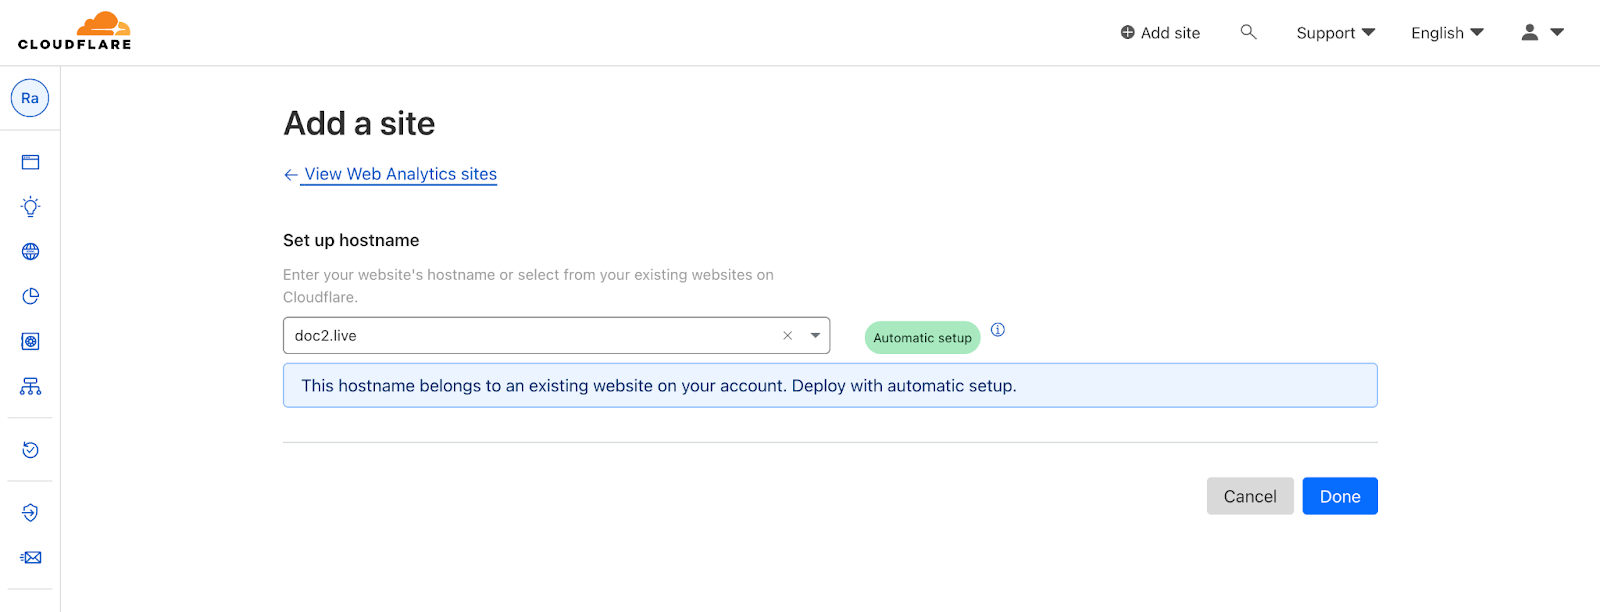
After going live, closely monitor the website for any issues or unexpected behavior. With Cloudflare, you have access to Free Website Analytics that don’t require GDPR compliance since Cloudflare Web Analytics doesn’t track your users with cookies.
To install Cloudflare Web Analytics, go to Analytics & Logs > Web Analytics and select the hostname you want to monitor. Use the automatic setup which will automatically inject the analytics script into all pages of the website.