Building with doc2.email
This tutorial will show you how to start a doc2.email project.
Prerequisites:
- You have gone through the Getting started tutorial and successfully created a project with a subdomain.
- You have basic web developer knowledge (HTML, CSS, JS).
- You have a GitHub account, and understand Git basics.
- You have Node and npm installed for local development.
This tutorial is designed for use with macOS, Chrome, and IntelliJ as the development environment. The screenshots and instructions provided are based on this setup. If you choose to use a different operating system, web browser, or code editor, please be aware that the user interface and required steps may differ accordingly.
Getting started#
The fastest way to get started is to use the GitHub demo repository as template which shows how the GitHub Access Token email can be recreated with the doc2.email service.
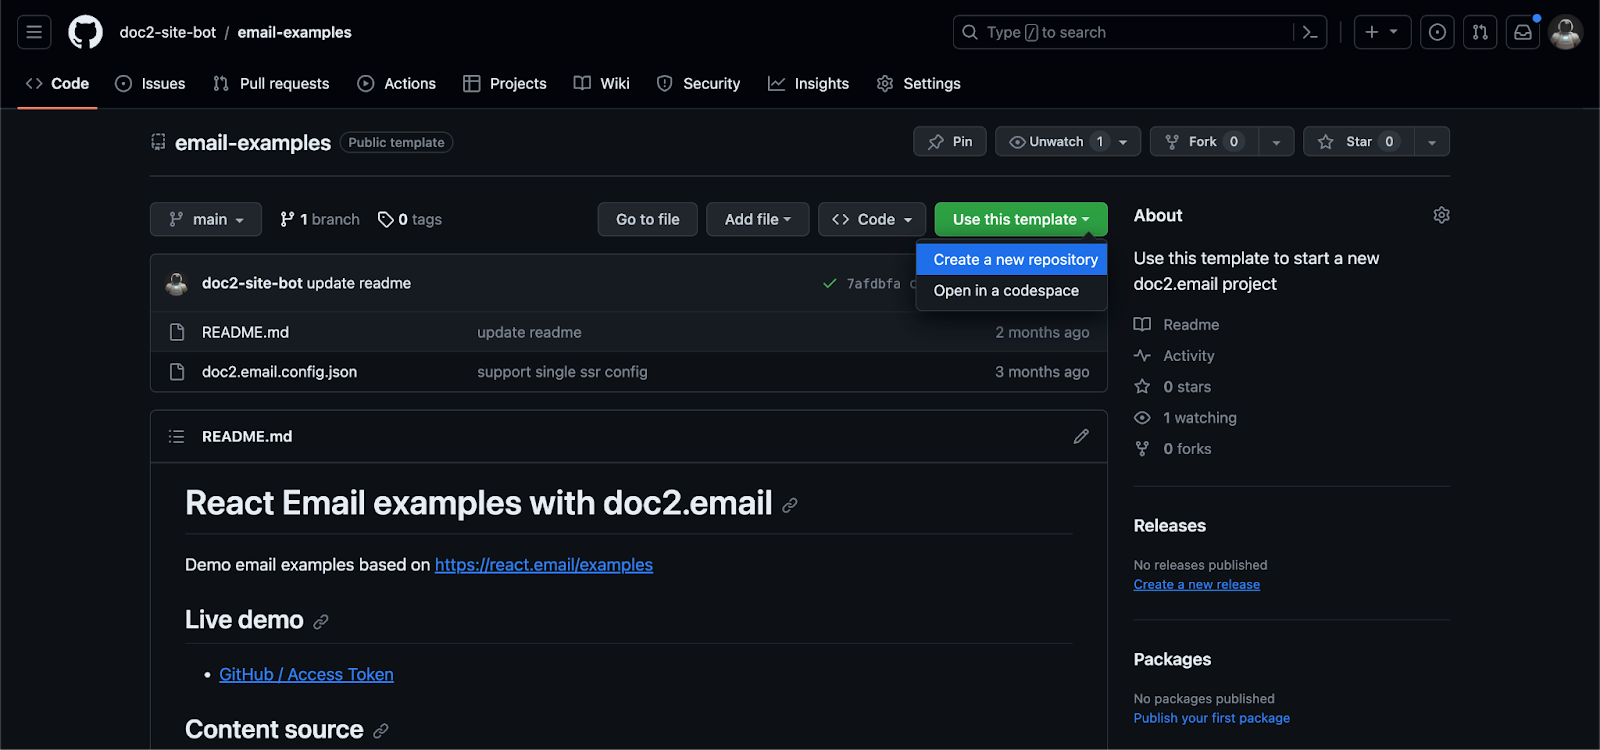
CLI#
Next, install the doc2 Command Line Interface (CLI) with npm i -g @doc2/cli and clone your repo locally. Then run the doc2.email development server within the root of the project with doc2 email --dev.
This starts the server at http://localhost:3000. Finally, open the existing GitHub example in your browser at http://localhost:3000/github. The server can be stopped with cmd+c or ctrl+c. Currently, the content is coming from the examples subdomain project.
Repository configuration#
To use your own subdomain, open the repository, open the doc2.email.config.json file and update the subdomain property with the subdomain of your doc2.email project for development. At this point, when you run the development server, the content will be proxied from your project subdomain https://dev–<mysubdomain>.doc2.email which is currently empty.

Bring your own CDN#
Let’s add some content and to simplify the process, we can simply copy it from the project Google Drive folder at https://drive.google.com/drive/folders/1uaz_fqzAD5K3giQmfumNAyhyloKUdaVm. Copy the doc2.email.config and github document from the folder into your own doc2.site project folder.
Next we’ll link the theme to our GitHub Repository but we need to deploy our repository first. For that let’s start by enabling GitHub Pages for the repository to serve the static files on GitHub’s CDN:

A new deployment is triggered anytime a commit is pushed to the GitHub Pages branch which by default is the main branch.
Next, open your doc2.email.config spreadsheet in your drive folder and update the preview to point to your GitHub Pages root location. Then click the doc2.site tooling Extension to publish the sheet in the Preview workspaces and then in the Live workspace. Please note that the configuration is tied to the workspace it was published to.
Finally, preview the github document by repeating the same process.
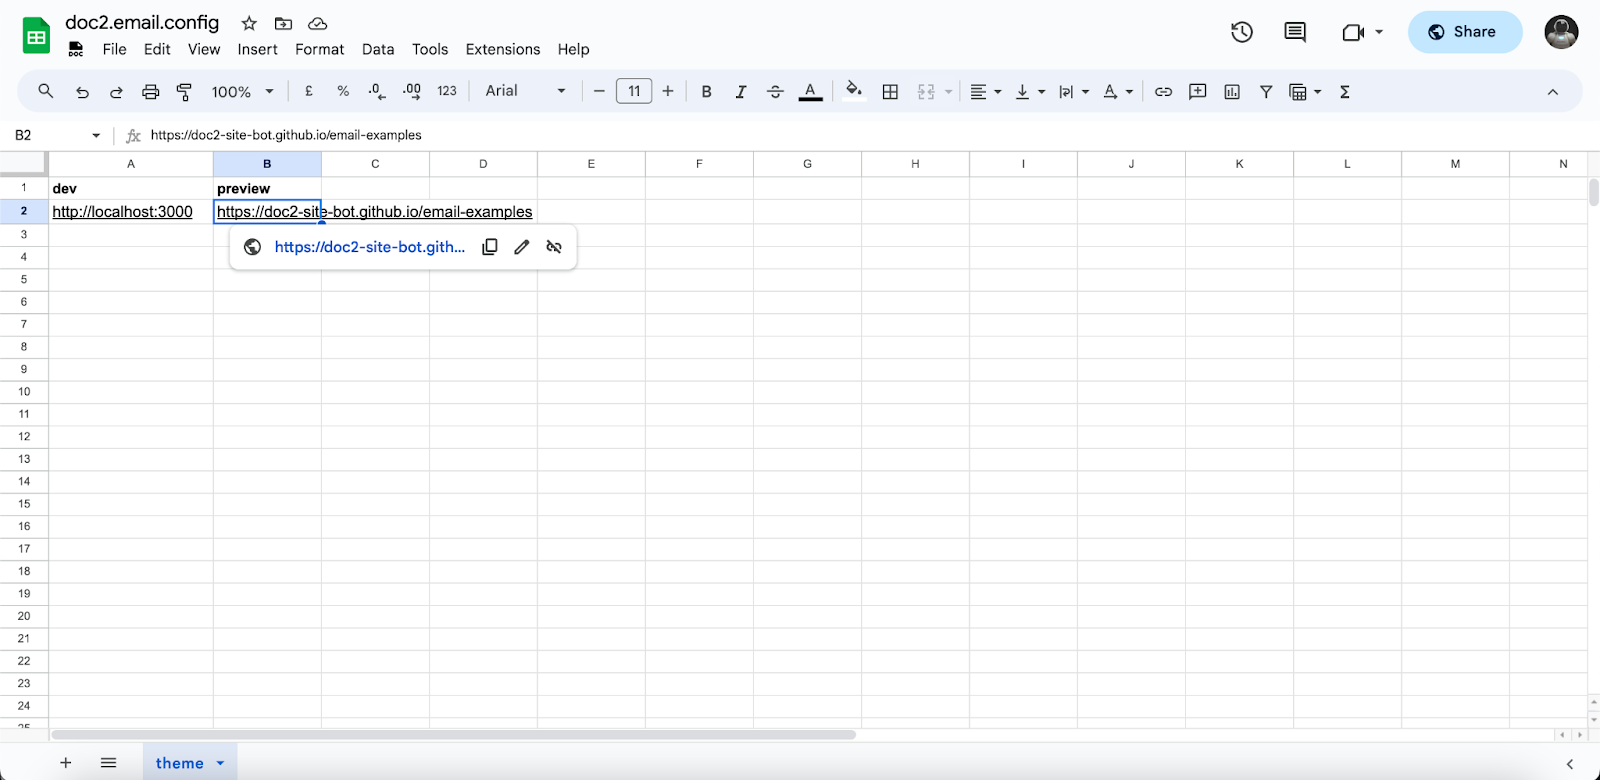
Congratulations, you can now visit the GitHub example on your own subdomain at https://preview--<mysubdomain>.doc2.email/github. You can also add another column named live to map to the Live workspace which will make any published content in that workspace visible at https://<mysubdomain>.doc2.email.
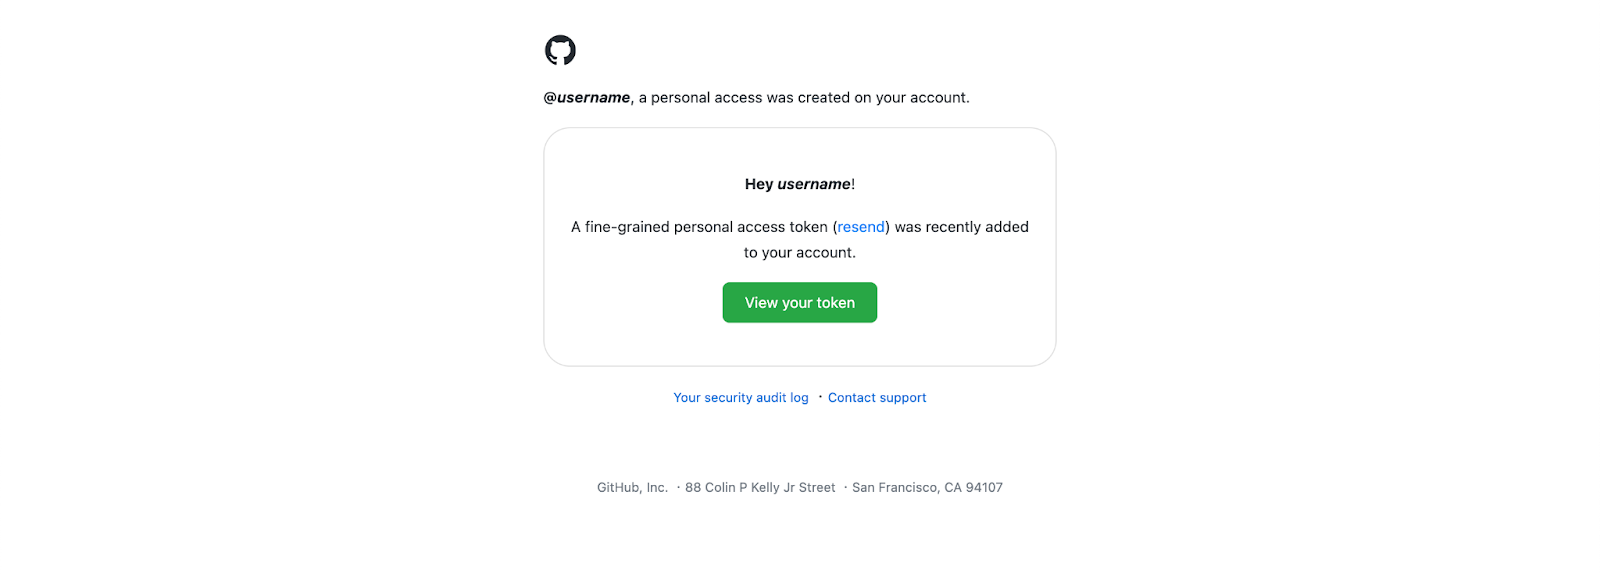
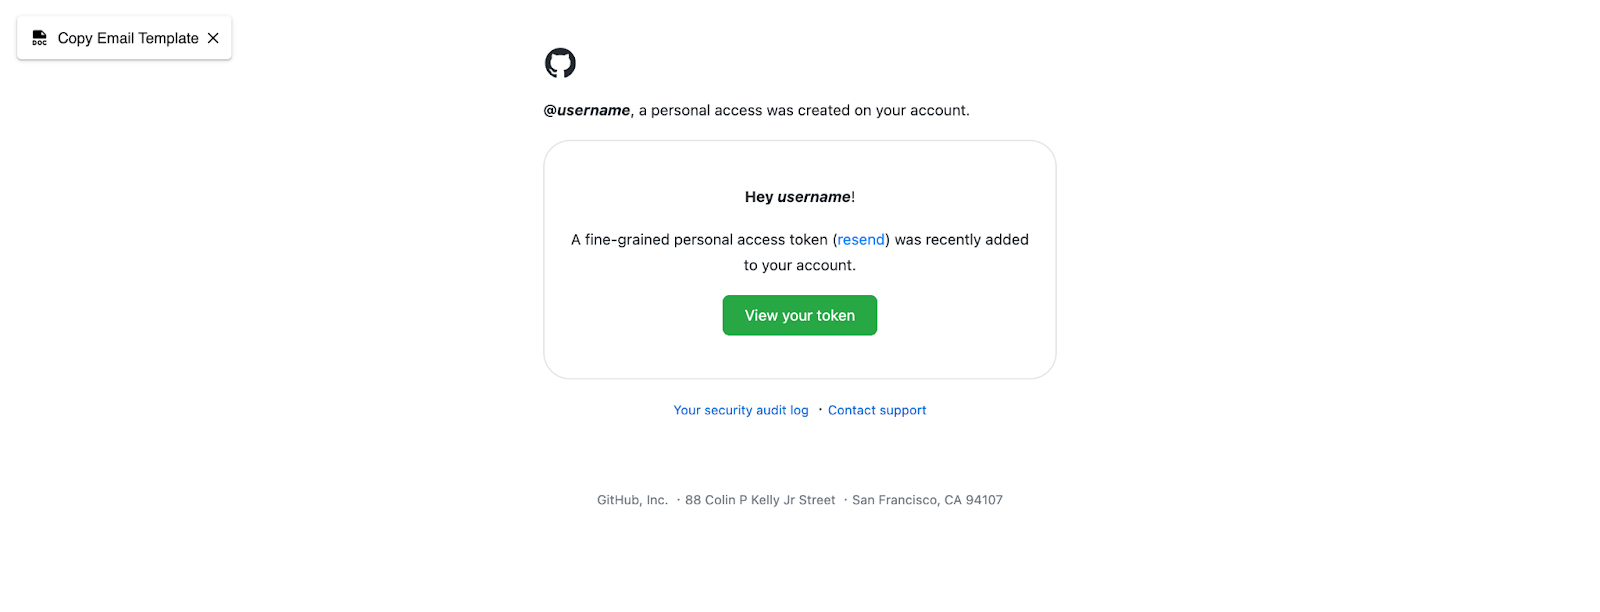
The GitHub example was recreated based on https://demo.react.email/preview/github-access-token from where you can find many other examples. If you open the link in your browser, the doc2.site tooling extension will allow you to copy the email as HTML so you can paste it in any email client. For example, you can use the HTML to programmatically send emails with https://resend.com.
Now that your doc2.email project is correctly configured, you can make changes to the github document and preview it again to see the reflected changes. Similar to the content, you can make code changes to update the look and feel. For that let’s have a closer look at how we make use of react.email components in the document.
React.email components#
The react.email components are a collection of high-quality, unstyled components for creating beautiful emails using React and TypeScript. Building email templates by scratch is extremely difficult and error prone as there are many different email clients with different requirements. Unlike the web, there are no fully accepted standards for how emails should be written in HTML. By using the react.email components, we’re able to greatly simplify the process of building responsive email templates.
By default, doc2.email will wrap the published content with html, head, body and main tags and map components to their react.email counterparts.
react.email component | description | doc2.email component |
|---|---|---|
A React html component to wrap emails. | Automatically generated with | |
A preview text that will be displayed in the inbox of the recipient. Email clients have this concept of “preview text” which gives insight into what’s inside the email before you open. A good practice is to keep that text under 90 characters. | Use the | |
Contains head components, related to the document such as style and meta elements. | Automatically generated with | |
Contains the main content. | Automatically generated with | |
A layout component that centers all the email content. | Automatically generated with | |
A hyperlink to web pages, email addresses, or anything else a URL can address. |
| |
A block of text separated by blank spaces. |
| |
A block of heading text. |
| |
Display a divider that separates content areas in your email. |
| |
Display an image in your email. |
| |
Display a section to group content together. |
| |
Display a column that separates content areas vertically in your email. |
|
As react.email evolves and grows, we’ll make sure to ship their latest version in backwards compatible manner, always.
Stylesheets#
In the repository, we have the github.css file which is used to style the elements of the /github page as if they were rendered in plain HTML.
body {

    background-color: #ffffff;

    color: #24292e;

    font-family: -apple-system, BlinkMacSystemFont, "Segoe UI", Helvetica, Arial, sans-serif, "Apple Color Emoji", "Segoe UI Emoji";

}

main {

    width: 480px;

    margin: 0 auto;

    padding: 20px 0 48px;

}

img {

    width: 32px;

    height: 32px;

}

img + p {

    font-size: 24px;

    line-height: 1.25;

}

column {

    padding: 24px;

    border: solid 1px #dedede;

    border-radius: 25px;

    text-align: center;

}

column > p:last-of-type a {

    font-size: 14px;

    background-color: #28a745;

    color: #fff;

    line-height: 1.5;

    border-radius: 0.5em;

    padding: 0.75em 1.5em;

}

column + p {

    text-align: center;

}

main > p:last-of-type {

    color: #6a737d;

    font-size: 12px;

    text-align: center;

    margin-top: 60px;

}

main > p:last-of-type {

    color: #6a737d;

    font-size: 12px;

    text-align: center;

    margin-top: 60px;

}

column + p a {

    color: #0366d6;

    font-size: 12px;

}
Try updating the body background-color to red then refresh the http://localhost:3000/github page to see the reflected changes.
Stylesheets are mapped to the requested path, for example to style a published document at the path /X/Y/Z, create a stylesheet at /X/Y/Z.css. If the pathname is the root /, create an index.css file instead.
We recommend verifying with https://caniemail.com which CSS properties are supported across popular email clients and ideally use an email client testing platform like https://www.emailonacid.com to ensure the emails are rendered as intended before being delivered.
Personalization#
With variables, placeholders for dynamic content can be put into the document to personalize emails. The values for the placeholders can be set with query parameters in the URL. In the GitHub example, the username can be replaced with a custom value e.g. doc2-site-bot by setting the ?username query parameter in the URL e.g. https://preview--examples.doc2.email/github?username=doc2-site-bot .
Links in the document can be personalized as well by using brackets similar to variables. For example, the resend link in the github document points to https://github.com/resend?username={username}. Similarly, the same can be done directly in the URL path e.g. the “View your token“ link points to https://github.com/{username}/tokens.
Custom preview theme#
GitHub Pages currently don’t officially support preview deployments. Luckily, there are other alternatives to GitHub Pages for example Cloudflare Pages which is also free and most importantly supports preview deployments.
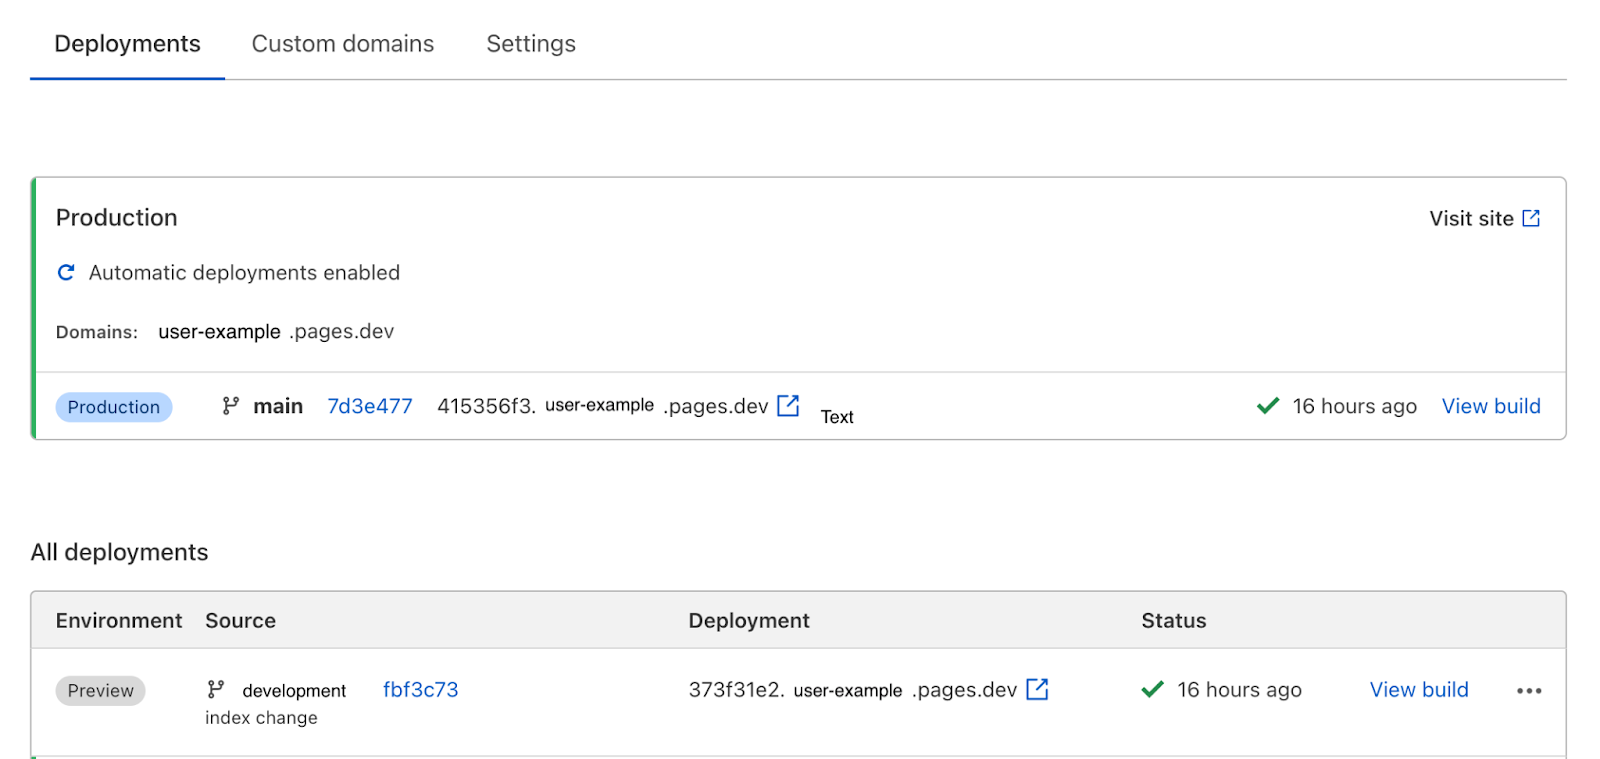
You can easily connect your GitHub repository, even if made private, to Cloudflare Pages by following their guide.
Once connected, every branch will be made available as a preview URL if configured as such. To configure your doc2.email project to support custom previews, you will have to update the doc2.email.config theme sheet. Simply rename the location of the preview to point to the Cloudflare Pages project location and prefix the location with a wildcard asterisk * for example https://*.<project>.pages.dev.