Publishing Content
Learn everything you need to know as an author to create and publish content.
Basics#
We have compiled a list of resources provided by Google to learn the basics of Google Drive, Docs and Sheets. Google also provides a Learning Center with business-focused end-user training, tips, and more.
Google Drive#
Learn how to:
- Upload files and folders to Google Drive
- Work with Office files
- Create, and edit Google Docs, and Sheets
- Share files from Google Drive
- Share folders from Google Drive
Go to Google Drive training to get more insights, cheat sheets and tips and tricks.
Google Docs#
Get started with Google Docs:
- How to use
- Create, view or download
- Copy and paste text and images
- Format text
- Work with links
- Add a title, heading or table of contents
- Add and edit tables
- File revision
- Change page settings
- Pageless setup
Learn more with Google Docs training and help.
Google Sheets#
Get started with Google Sheets:
- How to use
- Switch to Google Sheets from Microsoft Excel
- Import data sets & spreadsheets
- Edit & format a spreadsheet
- Add formulas & functions
- See the sum & average
Learn more with Google Sheets training and help.
Documents#
Documents are used to create Web pages or fragments of Web pages. They can link to or be linked by other documents or spreadsheets. Documents can hold inline images or link to files in the Drive folder e.g. videos. Semantics in the document like headings or text formatting are essential as they will be translated by the doc2.site APIs into HTML semantics.
We recommend naming a document as early as possible before publishing it and avoid using special characters.
Spreadsheets#
Spreadsheets can hold 1 to multiple sheets which often contain structured data e.g. a list of restaurant menu items with name, description and pricing. Sheets can link to or be linked by other sheets and documents. Sheets can also link to Google Drive files like images or PDF files. The advantage of sheets is that they can be sorted and filtered using formulas which don’t require web developer knowledge.
We recommend naming a sheet as early as possible before publishing it and avoid using special characters.
Project folder and Home Page#
A project folder is any folder created with the prefix doc2.site in the folder name and shared with bot@doc2.site. A project folder can be considered as the root folder of a site. To create a home page, simply create a document named Index under the project folder, for example see Uncle Tony’s homepage.
Browser Extension#
The Browser Extension includes tooling that adds new actions to Google Drive, Docs and Sheets to publish and preview content. It is also capable of identifying the source document of a live page. The Browser Extension supports multiple project configurations that can be imported via the Project Configurator in the dashboard.
Credentials#
To access the doc2.site API, your credentials are required. The credentials are your Google account email address and a generated secret by doc2.site sent to your email address. You can always recreate a secret from the dashboard.
Sharing permissions#
You can define who can view or edit your files or folders. You can share editing permissions for individuals or teams. You can create teams via Google Groups and assign multiple individuals to a team. You can share the whole project folder or only a subset and revoke permissions at any time.
When you share editing permissions, you don’t share doc2.site publishing permissions automatically. Publishing requires an account and a subscription to a doc2.site plan. Anyone with an account, a valid subscription and read access to a project can publish content to their Private workspace but publishing to the Preview and Live workspace requires write permissions in the project. Shared projects with write access can be selected in the Dashboard to generate a configuration for publishing.
See documentation for how to share folders.
Comments#
Comments in documents are supported and will be published together with the document content. Currently the only way to avoid publishing comments is to delete them altogether.
If you need to add content that should be ignored after publication, you can apply the Title or Subtitle styles to the content see example.
Links#
Links are vital to connect your content with external content or to help navigate users within your content. Links can be added across all content and formatting options. You can reference other documents, files, external sites or internal and external headings simply by using links see examples:
The following custom url schemes are supported:
tel:mailto:sms:geo:
To insert custom url schemes in Google Docs, start the link with #. You can also create absolute URLs to internal content by prefixing the url with #doc2:/ for example #doc2:/blog/mypost.
Tip: to link to another headings page, simply click on the heading and copy paste the updated link in the browser bar. Alternatively, you can set heading links using “slug” identifiers e.g. a slug heading “File links” corresponds to #file-links.
See documentation for how to work with links.
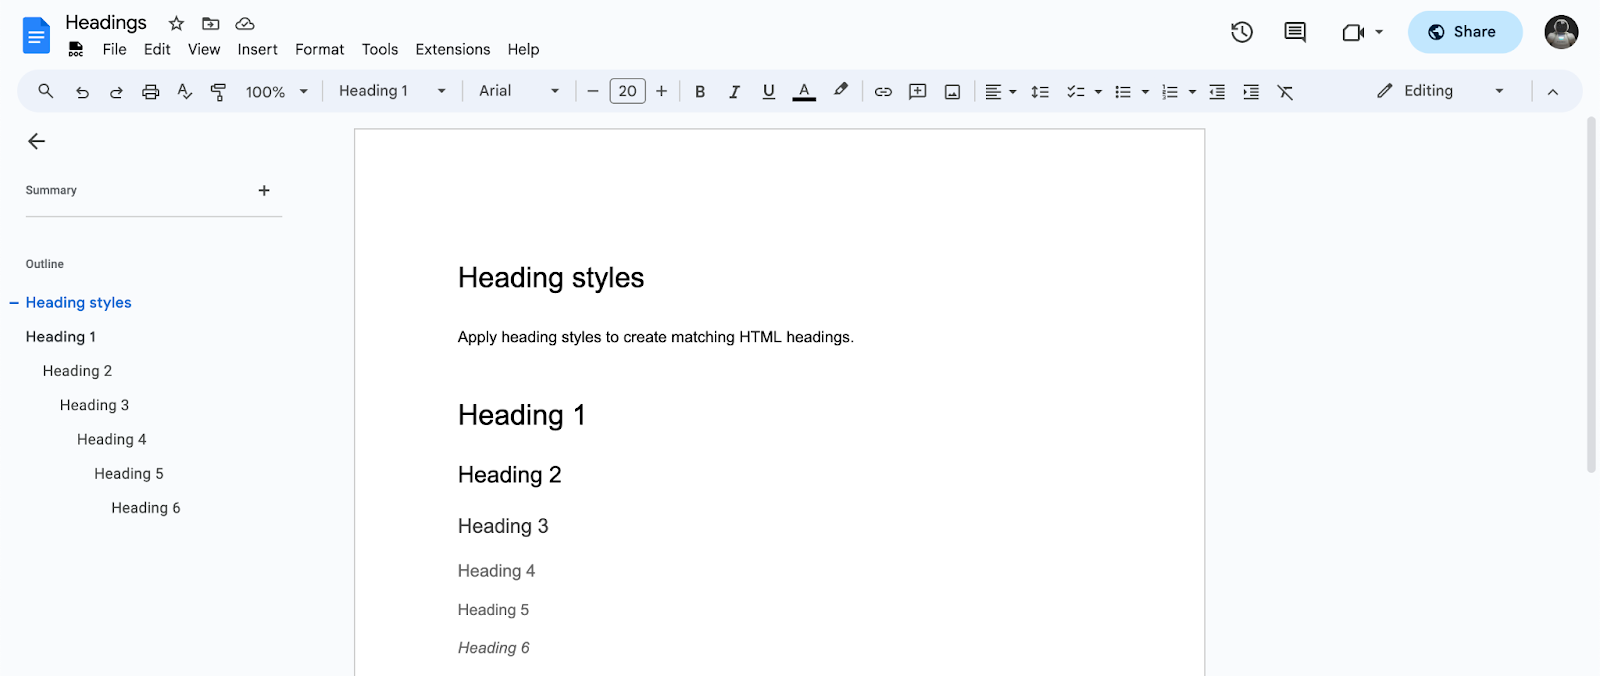
Headings#
Semantic headings are the foundation of any document structure. You should thrive to follow the semantic hierarchy of your document, meaning that a Heading 1 should be followed by a Heading 2 which in turn should be followed by a Heading 3 see example. Based on SEO recommendations, there should only be a single Heading 1 per document.
See documentation for how to add headings.
Please note that Title and Subtitle styles are not considered as headings.
Images#
Images are an integral part of making a web experience both more informative and also more engaging. Simply add images to your documents either by inserting them or just copy/paste images from your source. Add Alt-texts to your images to make your content more accessible see example.
See documentation for how to add images.
Please note that:
- Google downsizes the images to a maximum of 1600 pixels width or 1600 height.
- Publishing images can be slow on the first time especially if there are dozens of images in a document or sheet. The perceived delay disappears on repeated publishing.
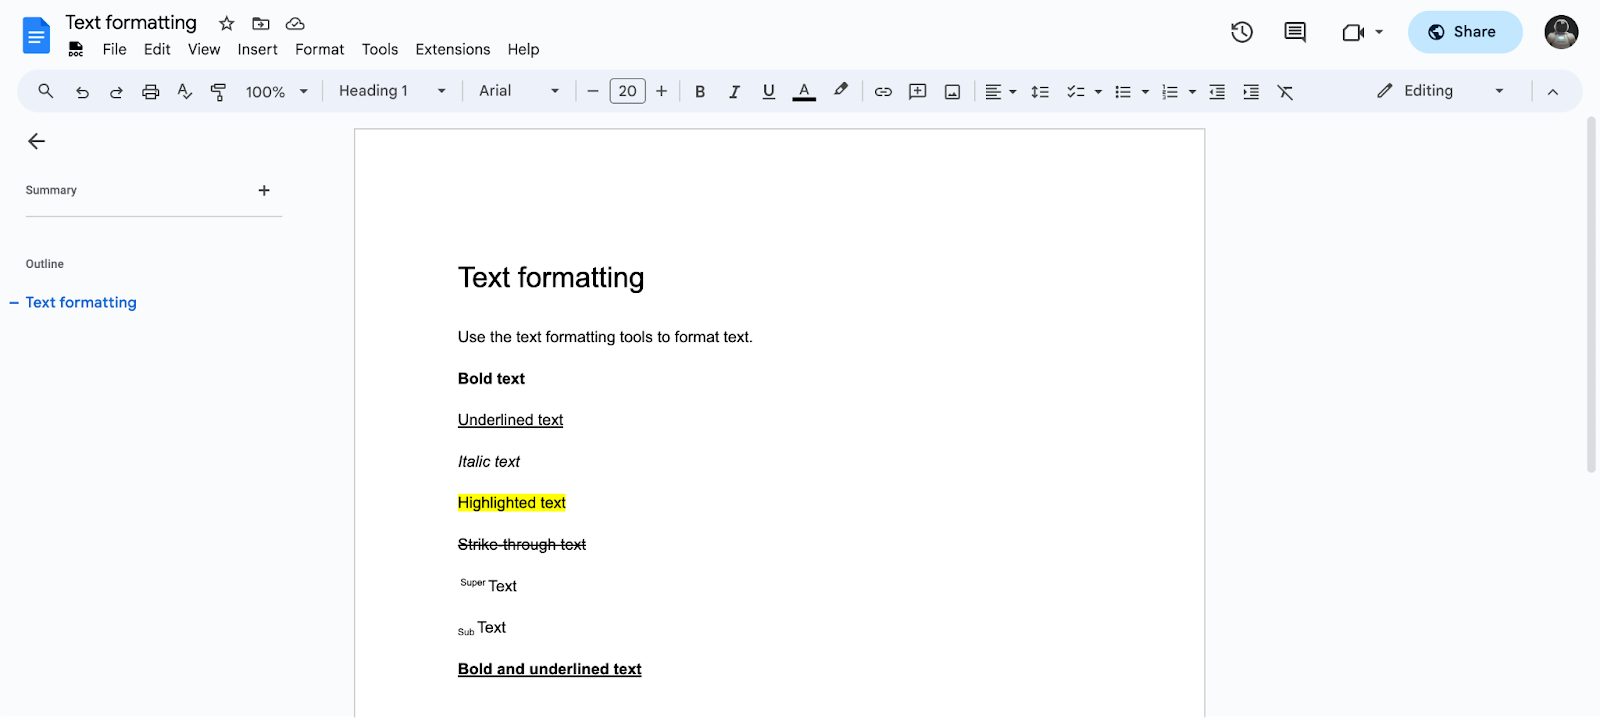
Text formatting and lists#
Bulleted/numbered lists and text formatting like bold, underline etc. are supported and translated into corresponding HTML tags e.g. <strong> for bold text. They can be combined, see examples:
You can use text formatting to define specific display rules for developers, for example use bold hyperlinks to represent call to action buttons and italic hyperlinks to represent secondary button links.
We recommend keeping such text formatting rules simple as possible to not confuse authors.
See documentation for how to format text.
Components#
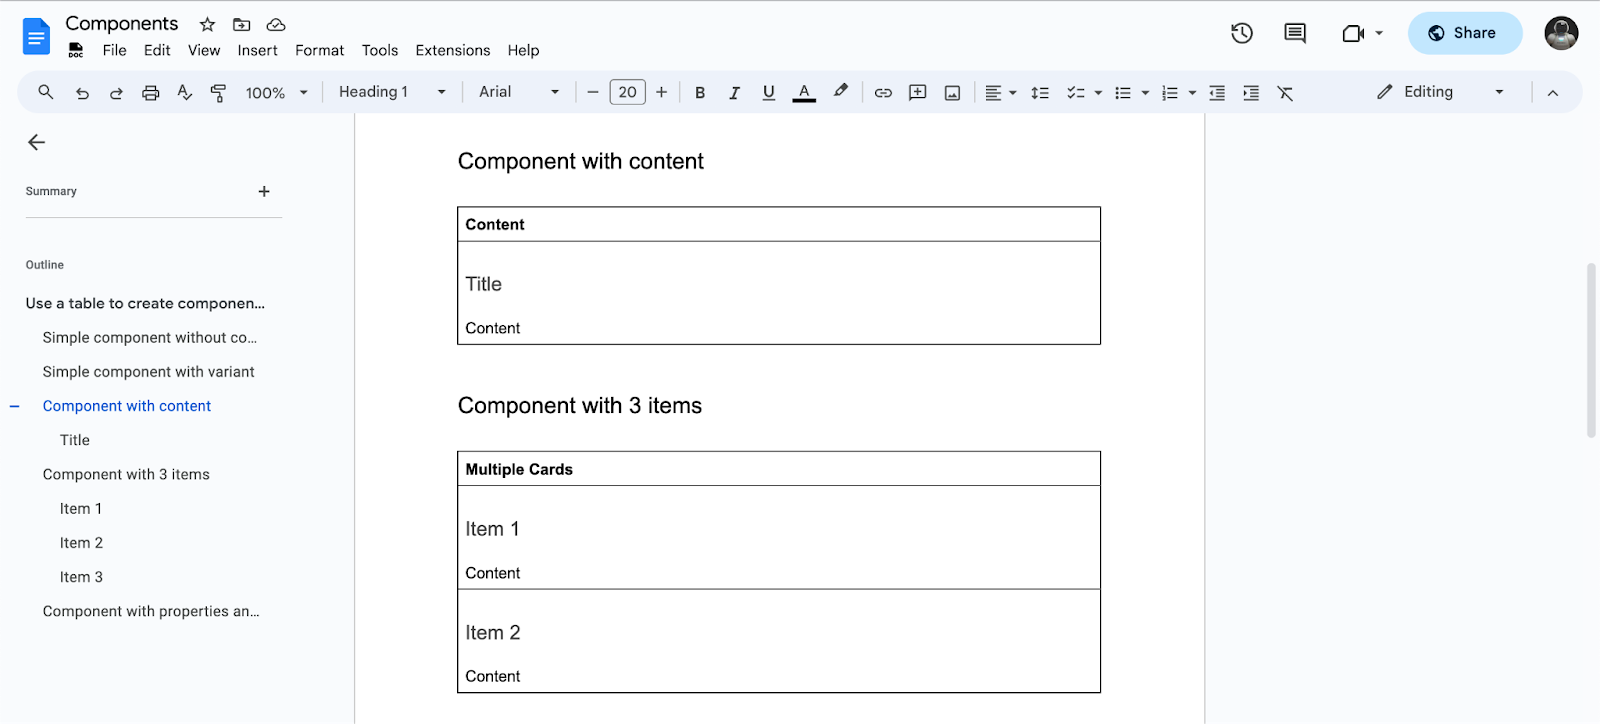
Components are the concept behind structuring content into smaller reasonable pieces. Instead of creating simple content structures composed of text and images, you can group pieces of content together to create components that can then be translated by developers into interactive and dynamic sections of the page. Typical examples of components include Hero, Header, Footer, Carousel or Tab List.
To create a component, you need to create a table with at least one row having a single cell with the name of the component see examples.
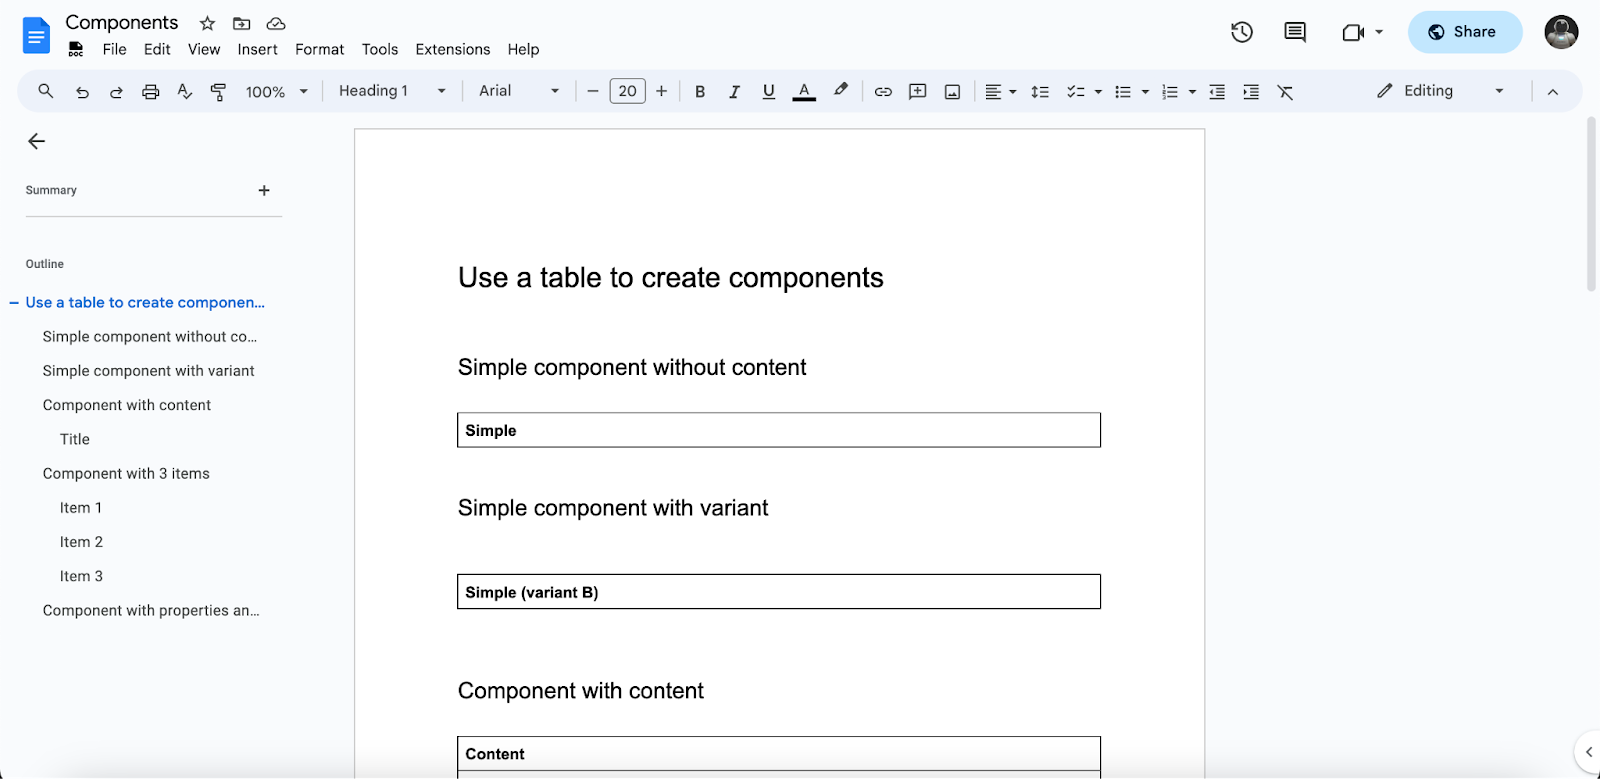
Variations
Components can have variations for example, a Hero can have different text alignment, left right or centered. Creating a component variation is as easy as adding it in parentheses next to the component name. Multiple variations are supposed by separating each variation with a comma: Hero (text centered, primary).
Properties
Components can have properties for example, a Tab List can be horizontal or vertical. This information can be passed as a property to the component. To create properties, simply add a new row with 2 cells to the table. The first cell represents the property identifier, while the second cell represents the property value.
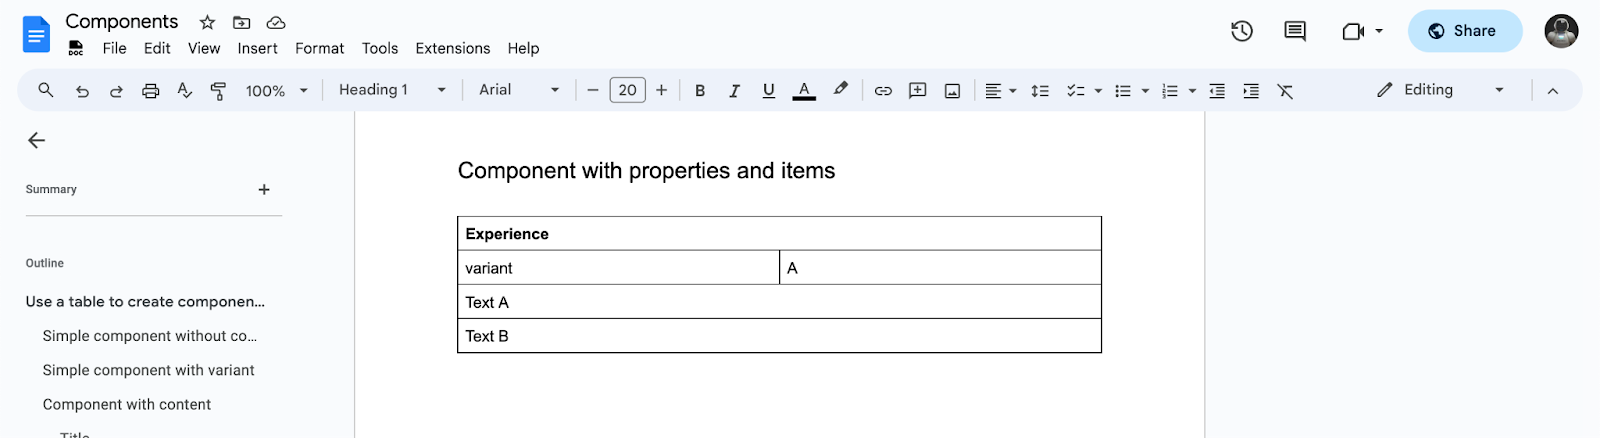
Child component
Some components typically have child components for example a Carousel is composed of images and text and each can be grouped as Carousel Item. To create component items, simply add new rows with a single cell to the table. Each row represents a child component and can contain any content like headings, images etc.
Reserved components
Some components are reserved by doc2.site and will be processed differently including:
Metacomponent is used to define custom metadata and is excluded from the default page content see the following section.Code Blockis a component to represent multiline code and accepts properties for example to set the code language see example.Fragmentcomponent is unique in the sense that it can be used to reference document fragments which then are automatically assembled by the doc2.live service see example. Fragments should contain the unique propertyreferencewhich value should link to another document to be included in the page.
See documentation for how to add and edit tables.
Metadata#
To express the page metadata like title and description for SEO purposes, you can use the reserved Meta component see example.
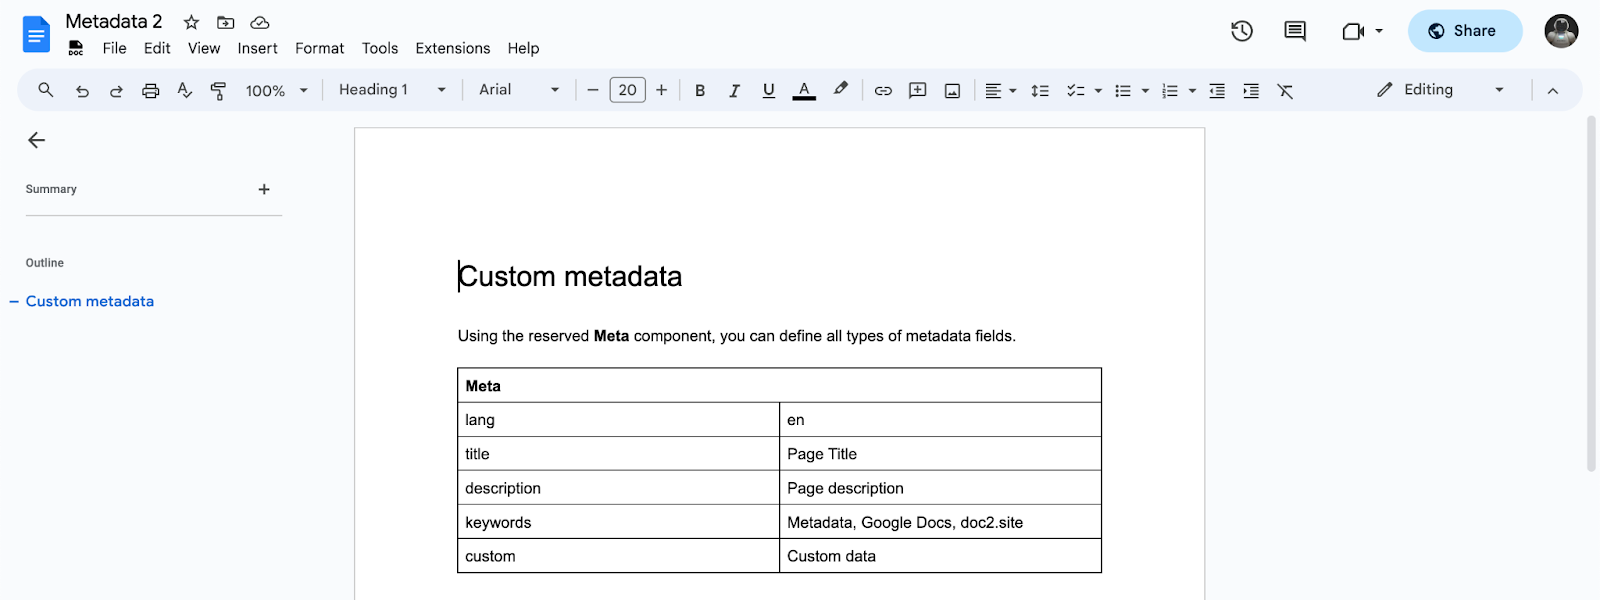
A special reserved meta key is template which will wrap the whole content inside a component named after the value of the template. This can be used to create different layouts per page for example.
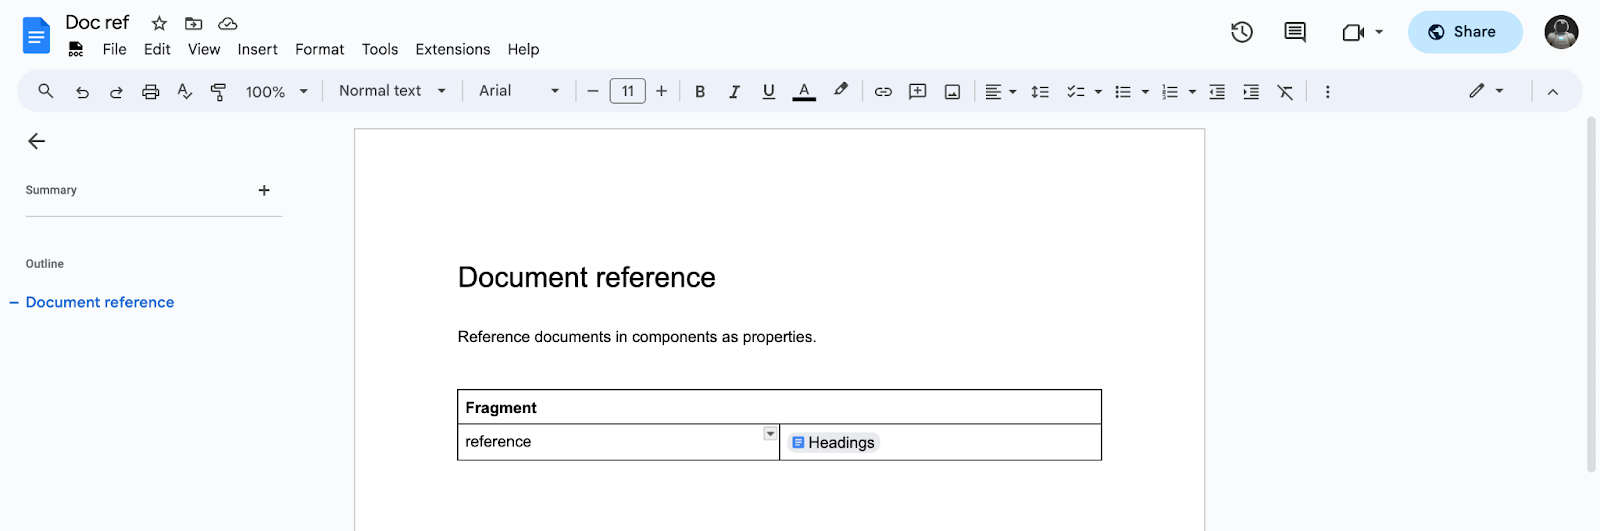
References#
References can be images, links to files, or component properties linking to documents and spreadsheets. To create a reference in a component, start by creating a component property and apply a link to the value. The link can point to another document or spreadsheet within the project folder so it can be resolved and included in the final rendered page see examples.
Referencing a file e.g. a video via a link can require making the file public so that the link to the file is viewable by anyone. To make a file public, please refer to sharing permissions.
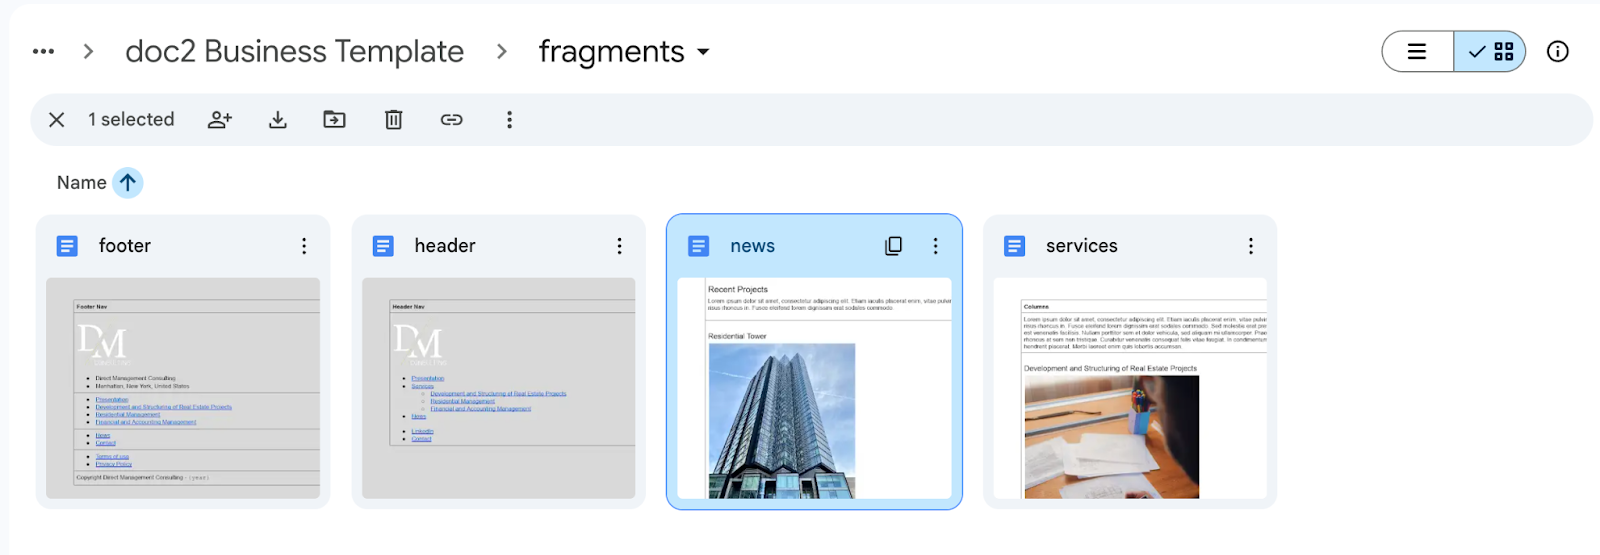
With the Browser Extension, you can also select references in Grid View and click on the copy button. This will add the reference to your clipboard ready to be pasted. When copying images this way, they will be optimized on the fly for Business Plan users.
References are useful in many ways as you can define document fragments that can be reused across other documents for example Headers and Footers but adding too many references can slow down the rendering process if they all need to be resolved on the fly. So it’s advisable to not have too many references (e.g. more than 10) in a document nor to nest references to avoid additional complexity.
Document and sheet references need to be published separately as well.
Tagged content#
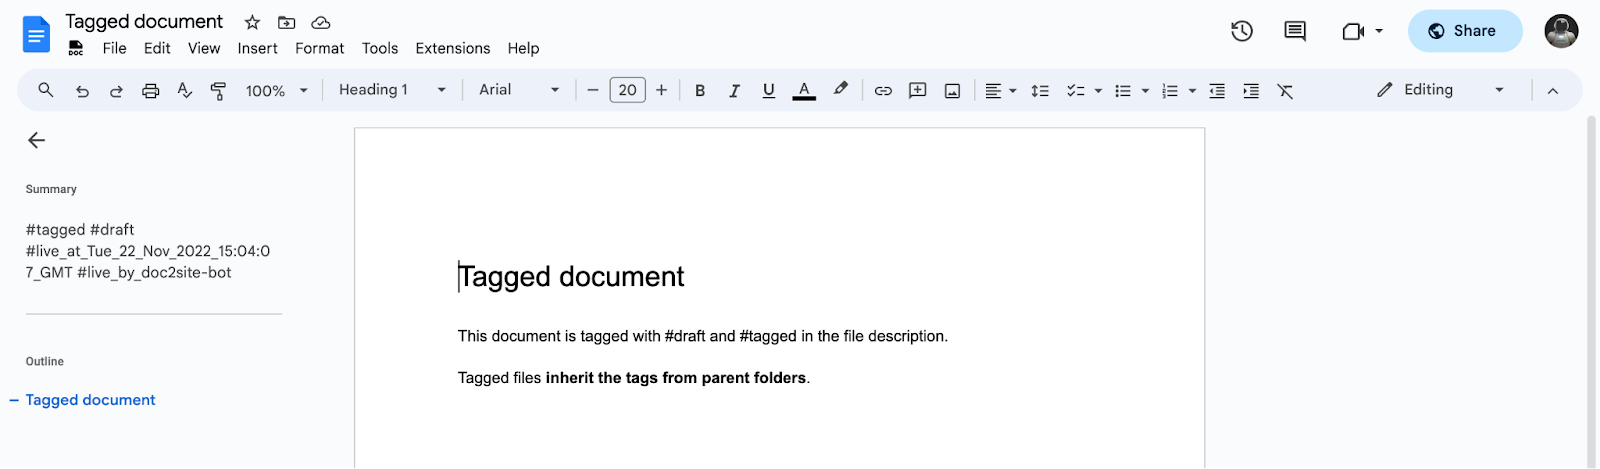
Documents and folders can be tagged by adding hashtags to the file description. Files will inherit tags defined on parent folders.
For example, if you’re working on a draft document and the rendered page should be rendered as a draft page, you can add a #draft tag to the document description, and the developer will be able to render #draft pages accordingly see example.
Spreadsheets#
Some content is better stored as tabular data in spreadsheets. This kind of content is also translated into simple consumable data for developers to integrate in any application. Each sheet within a spreadsheet is unique and can be published individually.

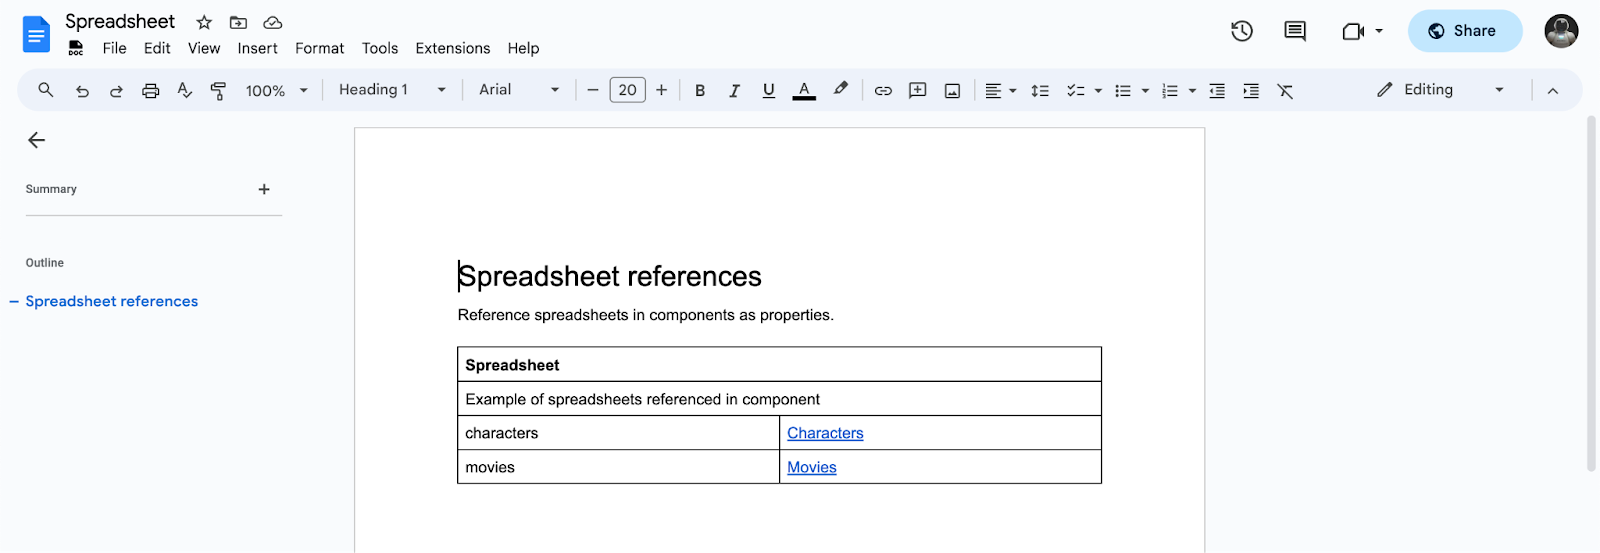
To create consumable sheets, use the first row to define data columns. For example, to represent a customer dataset composed of names, addresses and phone numbers, define the first row as columns labeled as name, address and phone. Then use the following rows for the actual values. Finally, the sheet can be published and referenced by the developer in the app or you can reference the sheet within a component see example.
Variables#
There are use cases where instead of hardcoding specific text across multiple documents, you would want to use placeholders instead to reference specific content within text. Variables can be used in this case to create dynamic text see example.
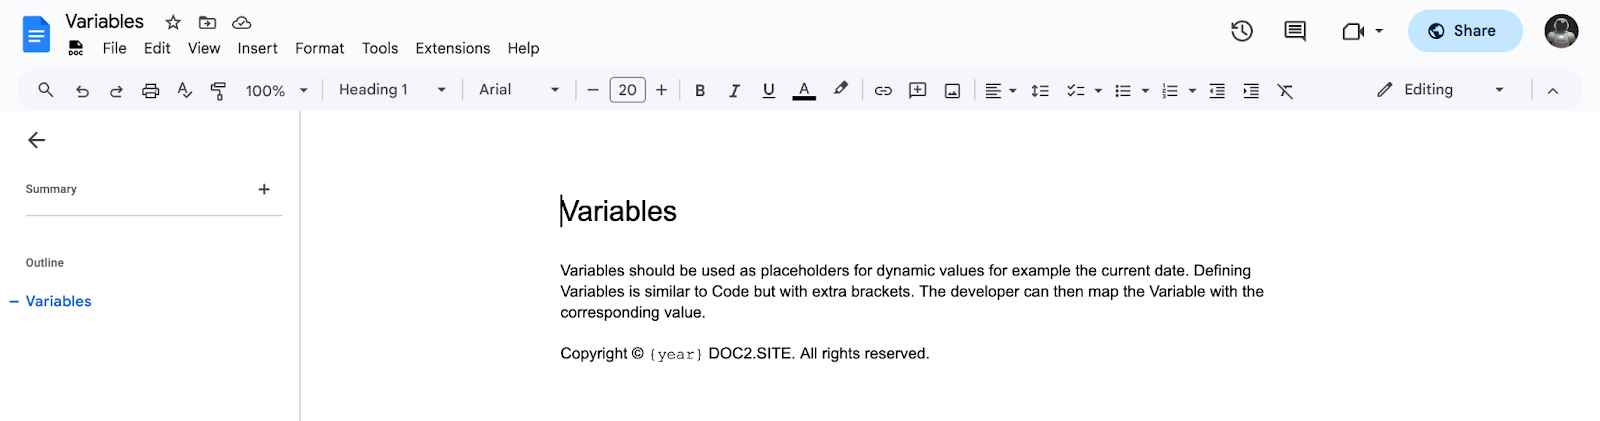
Variables can be resolved by the developer rendering the page. You can help the developer to resolve the variables for example by providing and publishing a sheet listing the variables keys and corresponding values.
Publishing#
To publish content, install the Browser Extension (only available in Edge and Chrome) then go to the Dashboard Project Configurator and copy paste the project configuration into the Browser Extension options. This will load the doc2.site tooling automatically on Google Drive, Docs and Sheets.
For bulk publishing and to have an overview of all published documents, open the project folder and click on the doc2.site logo. Alternatively, within a spreadsheet or a document, click on the doc2.site logo to start publishing.
Before publishing, always make sure the document or the sheet is saved to Google Drive.
Documents and sheets can be published in 3 different workplaces:
- Private
- Preview
- Live (only available in Business Plan).
Publishing rules:
- Anyone with read access to a document or a sheet can publish the content to their respective private workspace.
- Publishing to the preview and live workspace requires write access.
- Content published to a private workspace can only be accessed by the user who published the content.
- Content published to the preview and live workspace is accessible by anyone in possession of the published content link.
- Content published to the preview and live workspace will get tagged automatically with the published date and publisher name.
- The Live content is merely a copy of the preview content and hence, it is not possible to publish content to the live workspace without publishing it first to the preview workspace.
Unpublishing#
Unpublishing actions are opt-in when creating the Project Configuration for the Browser Extension in the Dashboard. Unpublishing actions are destructive and dangerous as they can cause unexpected issues.
Trashed documents and spreadsheets are not unpublished by default. Unpublishing doesn’t delete the source content so before deleting documents or spreadsheets, always make sure to unpublish them first.
We don’t recommend unpublishing but instead redirect published content to their new location as redirections are more SEO friendly.
Also renaming published content is the same as moving content which ideally requires setting up redirections.
Any files or folder can be deleted which will move them to the Trash Bin folder and can be recovered. After 30 days, the files are deleted permanently.
Configuration#
When using the doc2.live service, a configuration spreadsheet can be created to map the project with a theme, global metadata, redirects, 3rd party apis and text placeholders. Here’s an example.
- The theme is a link to a publicly accessible collection of files that determine how your website looks and functions.
- Global metadata can be used to define metadata to boost SEO performance across all pages.
- Redirects are necessary when moving pages to other locations.
- Text placeholders are helpful to avoid repeating common text across all pages and instead use a variable which makes it easier to update later.
- 3rd party apis can be required to integrate external services.
- Experiments can be built-in to deliver personalized experiences.
For the doc2.email service, only a theme can be configured see example.
If you’d like to learn more about these services, please read:
Quick Look#
If you have configured your project with a subdomain and set the preview URL with doc2.live (or doc2.email), you will be given the option to generate a Quick Look preview through the Browser Extension. This type of preview doesn’t actually publish the document content but still lets you see how the page would be generated if published. As the content is not published, you can’t share the preview but the advantage is that it’s much faster to generate a preview which can lead to increased content velocity.
Quick Look supports multiple viewer presets to preview how users will view the website on their screens including mobile, tablet, laptop and desktop devices.
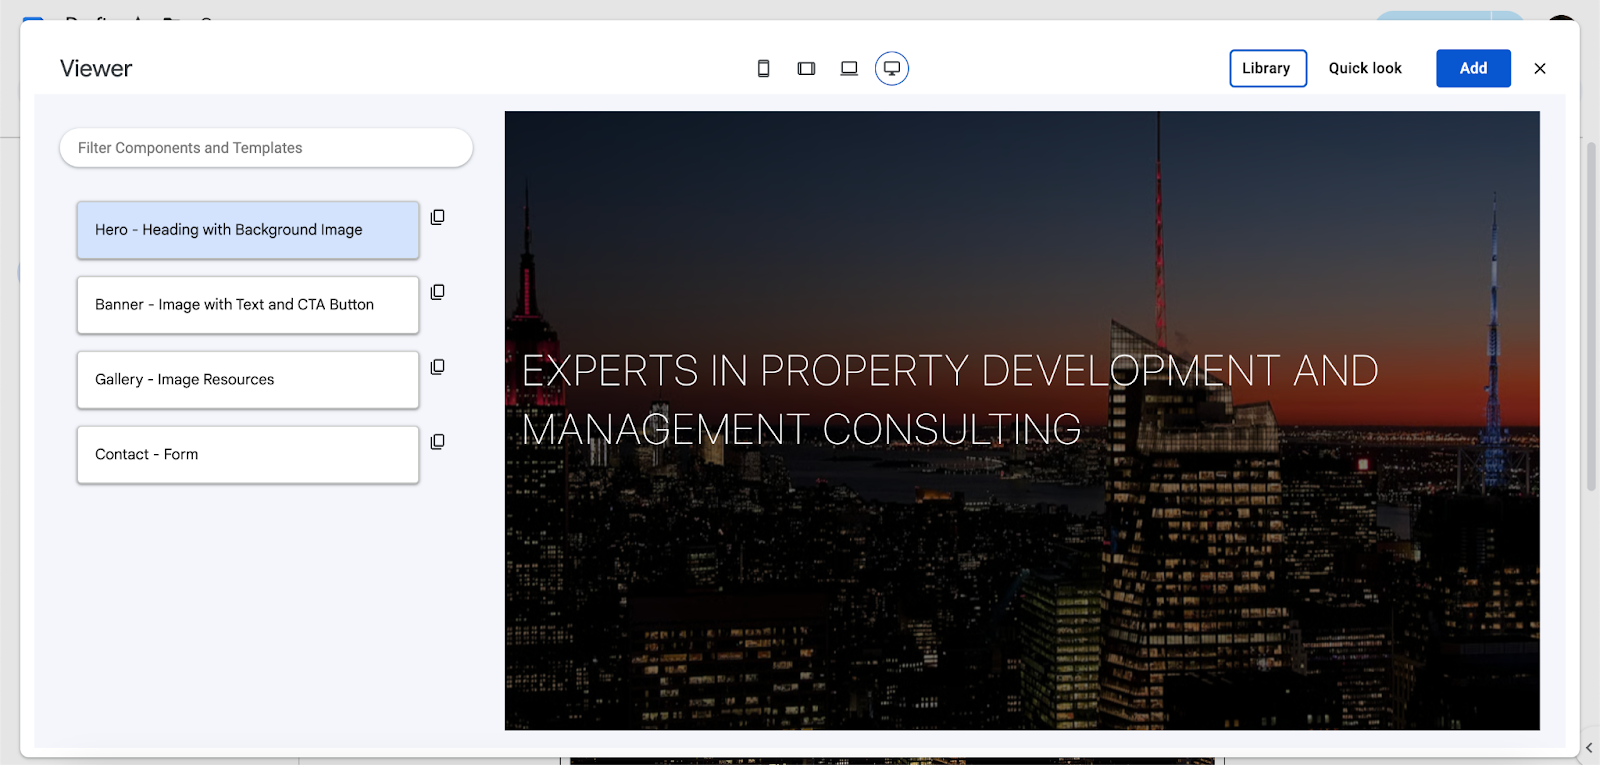
Library#
The Library is accessible through the Browser Extension. It’s a collection of customized pre-built, reusable templates and components that facilitate the design and development of your website. These components typically include common design elements such as Heros, Cards, Forms and other content blocks. The primary purpose of the component library is to streamline the website creation process by providing consistent and easy-to-use building blocks.
Each building block in the Library can be previewed as standalone by selecting it. To add a building block to the current document, select it and click the Add button which will insert it at the end of the document or click on the Copy button and paste it somewhere in the document. The content of the building block can be adjusted in the document to match the existing content.
Editor#
The Editor is accessible through the Browser Extension. It’s an overlay on top of the Google Docs editing experience tailored to web editing with a live preview. Components can be added or moved via copy and paste from the Library or from the current page. The Editor will provide more guidance to an author through hints and specific inputs for meta fields and component fields like properties and variations.
The Editor doesn’t affect the document until it’s saved which makes it easy to try changes without changing the document. It has its own history saved across sessions with undo and redo features. To reload the current document and discard changes, click on the Reload button. To save the Editor changes to the document, click on the Save button.

Assistant#
The AI Web Content Assistant is accessible through the Browser Extension. It acts as a powerful tool to support authors throughout the entire content creation process, from generating ideas and drafting content to refining and optimizing it for SEO and readability customized to their brands and requirements. This enables website authors to produce high-quality, engaging content more efficiently, ultimately improving the website's user experience and search engine performance while being able to preview each step throughout the process.
Here’s a summarized version of how the AI Web Content Assistant helps authors:
- Idea Generation & Research: suggests content topics, performs trend analysis, and gathers relevant research, helping authors come up with ideas and facts quickly.
- Content Structuring: assists in creating content outlines, optimizing SEO, and personalizing content to suit the target audience.
- Writing Assistance: drafts initial content, helps expand ideas, and checks grammar, spelling, and style for consistency.
- Content Refining: AI rewrites sections, adjusts tone, and ensures clarity and readability while aligning the content with the brand’s voice.
- SEO and Keyword Optimization: It suggests keywords, checks keyword density, and helps with meta tags to improve search engine rankings.
- Content Localization: AI assists in translating or adapting content for different languages and regional preferences.
- Content Review and Feedback: Provides readability scores, sentiment analysis, and ensures the content matches the desired emotional tone.
- Efficiency and Speed: AI speeds up the content creation process, helping authors produce high-quality content quickly and repurpose it across formats.
- Content Performance Analysis: Analyzes content performance and suggests updates to maintain relevance and improve engagement metrics.
The AI Web Content Assistant is only available to our Enterprise customers.
Common authoring mistakes#
Be careful with line breaks as every line break creates a semantic element by default which may or may not be intended. For example, when selecting the Normal text styles, a line break will create a new paragraph. Similarly, multiple spaces followed by a line break will create an empty paragraph with non breaking white space.
Styles are used for semantics but it’s currently possible to add styles to images which may or may not be intended. For example, it’s common to start a document with a heading and then add an image underneath it. If the styling was not switched from Heading back to Normal text then the image will be wrapped in a heading.
Renaming documents after they got published and linked by other documents can cause a lot of trouble as all documents that are pointing to the renamed document will require to be published again to adjust to the new name.
These common mistakes can create issues for the developers tasked with styling and rendering the content appropriately.
3rd party extensions#
To improve authoring productivity, increase content velocity or simply to personalize your authoring experience, we recommend browsing through the Google Workspace marketplace to find Google Drive, Docs and Sheets apps and add-ons.